How to Build an Indoor Mini Golf Course (4 Easy Steps)
Hey PE Teachers -Get ready to transform your gym into an indoor mini golf course in just 4 easy steps – no fancy equipment needed.
Get ready for giggles, teamwork, and a little friendly competition as kids design, build, and play their way through a crazy fun mini golf course using easy to find everyday materials.
How to DIY an Indoor Mini Golf Course
In this blog post, you’ll learn exactly how to easily set up a DIY Indoor Mini Golf Adventure in Your School Gym in just 4 simple steps:
- Step 1: HOME DEPOT RUN
- Step 2: MEASURE AND CUT
- Step 3: GATHER SUPPLIES FOR HOLE OBSTACLES
- Step 4: DESIGN HOLES and PLAY
Bring the fun and excitement of putt putt golf right to your gymnasium, summer camp, or kids’ indoor hangout with this creative DIY indoor mini golf course project.
It’s the perfect recipe for active learning and unforgettable fun!
How to Build – Indoor Mini Golf Course
Hi there, it’s so great to meet you! I’m Mrs. T. or you can call me Jen – a Michigan mom, wife, new grandma (aka “Jemma”) and K-12 PE teacher who is on a mission to MAKE SCHOOL FUN AGAIN!

Mini Golf is definitely one of my very favorite units to teach to my elementary PE students, which is why I’m so excited to share all of my indoor mini golf course tips and tricks with you today!
Alright. Let’s get to it.
How to Set Up a DIY Indoor Mini Golf Adventure in Your School Gym
READY! SET! PUTT!
Step 1: Home Depot Haul

FIRST, you need to head to your local Home Depot Store and head to Aisle 5 (Rugs).
NEXT, you’ll need to locate the Emerald Green Precut Turf 6 ft. x 8 ft. Artificial Grass Rug. One rug will make three mini golf holes.
THEN, you’ll need to pick up a BOX CUTTER and a STRAIGHT EDGE RULER if you don’t have one.
FINALLY, quickly pay for your items and head on home.
*MONEY-SAVING TIP – If you tell Home Depot that you’re using the artificial grass rug to teach a mini golf unit at school they may give you a discount – It worked for me.
Step 2: Measure and Cut

FIRST, unroll the carpet rug from the package, flip it over, and lay it out flat (black or back side up) onto a large hard floor surface – A garage floor works great!
NEXT, use your straight edge ruler to make a small mark with a Sharpie at the 24 inch and the 48 inch mark.
FINALLY, use your box cutter to cut the carpet into three long equal strips, starting on the 24 and 48 inch marks.
DIY Indoor Mini Golf Course

*CUTTING TIP – Use the cracks in your cement floor to guide your box cutter as you cut. This will help you to make perfectly straight strips.
Step 3: Gather Supplies for Obstacles

FIRST, we need to gather materials to use as obstacles for the indoor mini golf course.
NEXT, you should head to the nearest kindergarten teacher’s classroom in your building and ask if you can raid their play area. You will find THE BEST obstacles for your mini golf holes – BLOCKS, WOODEN RAMPS, etc.
THEN, head to your supply closet in your gym office and see what you can find. Here is a list of some of the fun items I give to my students to use when building their golf holes.
- Solo Cups
- Wooden Blocks
- Wooden and Plastic Bridges, Tunnels, Ramps
- Cones – different sizes and colors
- Stuffed Animals – like Beanie Babies
- Squishy Toys
FINALLY, place the supplies in different or bins.
Step 4: Design, Build & Play

FIRST, put your students into small groups of 3-4 student, give each group a carpet green, and send them to a designated space in the gym.
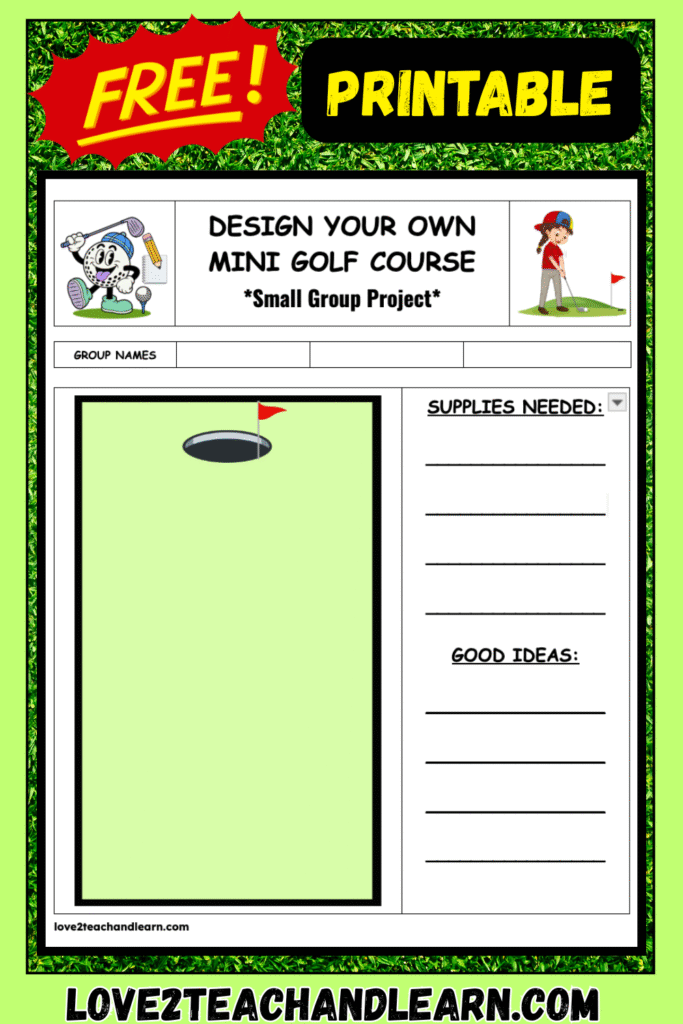
NEXT, give each group a clipboard, MINI GOLF HOLE PLANNING SHEET – you can get a FREE ONE HERE (or a piece of blank white drawing paper works too) and a pencil. Have your students brainstorm design ideas for their golf hole.
THEN, place the obstacle supply bins in the middle of the gym. When each group has a plan and a basic design for their golf hole, allow them to begin building their putt putt hole with the supplies (blocks, cups, cones, etc.)
FINALLY, once each group has their hole done, let the students practice playing golf on their hole. Then, celebrate and allow your students to rotate around the gym playing each other’s golf holes.
*BONUS TIP – Don’t forget to take pictures of your students playing on their DIY indoor mini golf course. Consider creating a photo collage to display on a bulletin board outside of your gym.
The Last Hole
So, what do you say? Are you ready to plan the most epic indoor mini golf course ever?
Why not blast some “CLEAN” and “UPBEAT” PE music for kids and get ready to have the absolute BEST DAY hanging out and golfing with your incredible PE students.
If you’re looking for more easy, fun, and super unique (not boring) Low or No-Prep physical education games and projects, I’ve got a bunch more for you.
As a matter of fact, I have a GIANT BUNDLE of Elementary Physical Education Games.
You can grab your Physical Education HUGE GROWING BUNDLE Right Here!
Be sure to check out my other unique and fun Teacher Resources (Instant Bulletin Boards, Fun Classroom Decor, Learning and PE Games) in my Love 2 Teach and Learn TPT store RIGHT HERE!
Thanks for stopping by today and learning how to create an awesome indoor mini golf course.
I really appreciate it and I hope that you have a TRULY BLESSED And BEAUTIFUL Day spent laughing until your cheeks hurt!