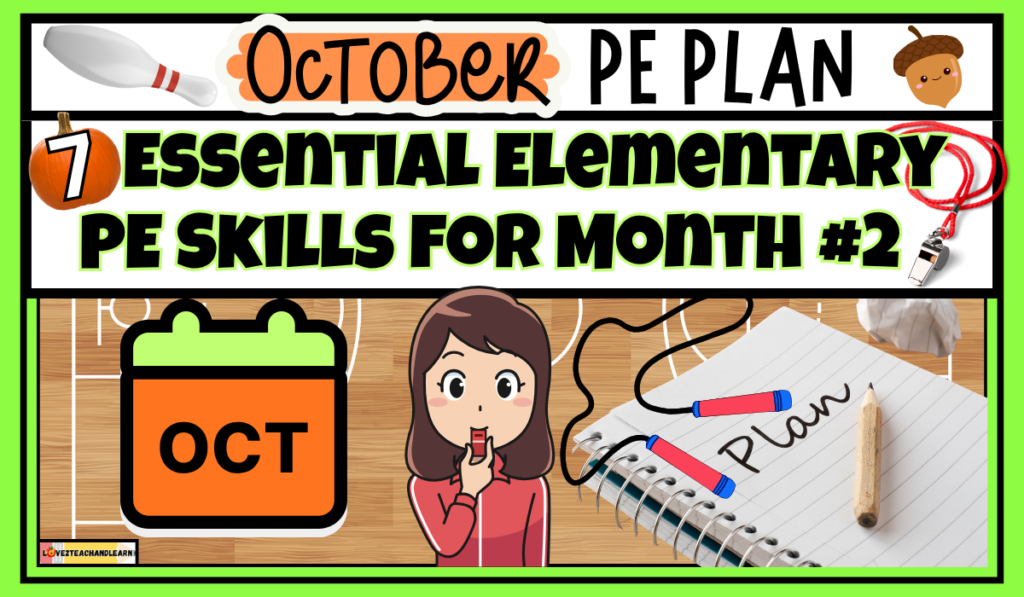
October PE Plan: 7 Essential Elementary PE Skills for Month #2
Looking for an Awesome K-5 October PE Plan that will help you kick off Month 2 of the school year? PE teachers – I GOT YOU!
After spending September building that strong foundation, October is the perfect time to jump into some of the essential object-control skills your students will use all year long.
OCTOBER PE PLAN
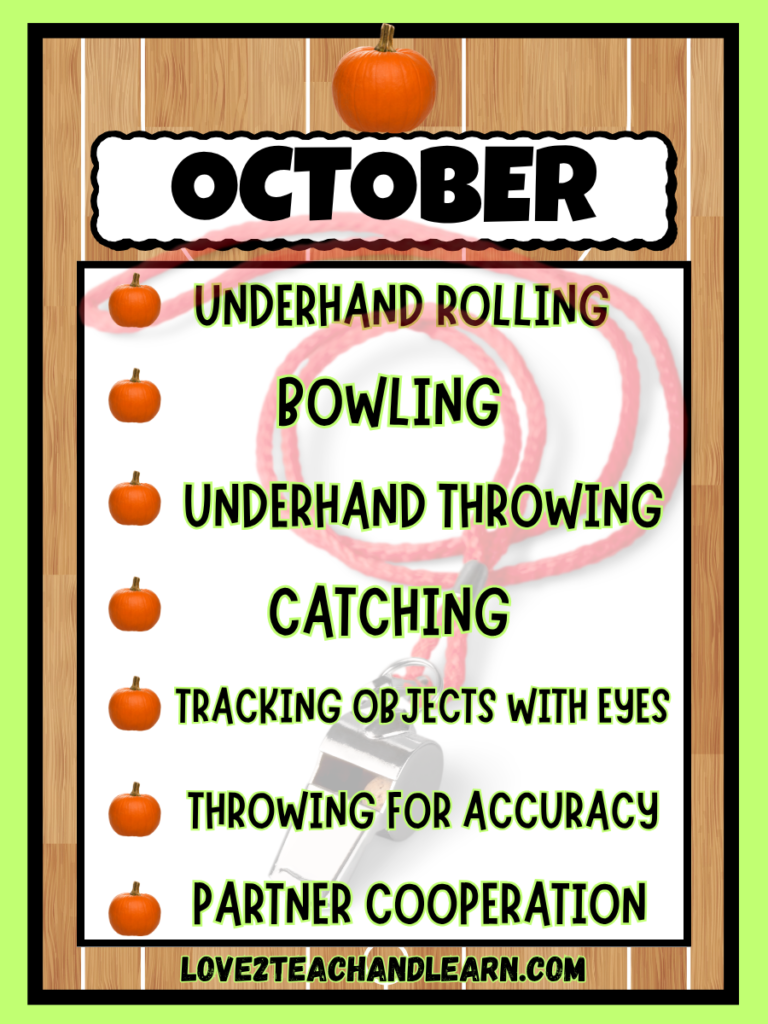
Throughout October, I’ll focus on 7 essential PE skills:
- UNDERHAND ROLLING
- BOWLING
- UNDERHAND THROWING
- CATCHING
- TRACKING OBJECTS WITH EYES
- THROWING FOR ACCURACY
- PARTNER COOPERATION
These skills naturally build on one another and give students plenty of opportunities to move, practice, play, and work together.
I’ll break down each skill, share simple teaching cues, and give you some of my favorite games, PE Read-Alouds and activities for making skill practice FUN!
And if you’re just finding this series, be sure to check out my September PE Plan first to see the foundational skills, routines, and expectations I focus on during Month 1.
Now grab your bowling pins, beanbags, balls, and targets—October PE is about to get rolling!
Want to Save Massive Time with my Complete OCTOBER PE Lesson Plan BUNDLE?
YOU GOT IT! You can Snag the Complete Month #2 October Bundle RIGHT HERE!

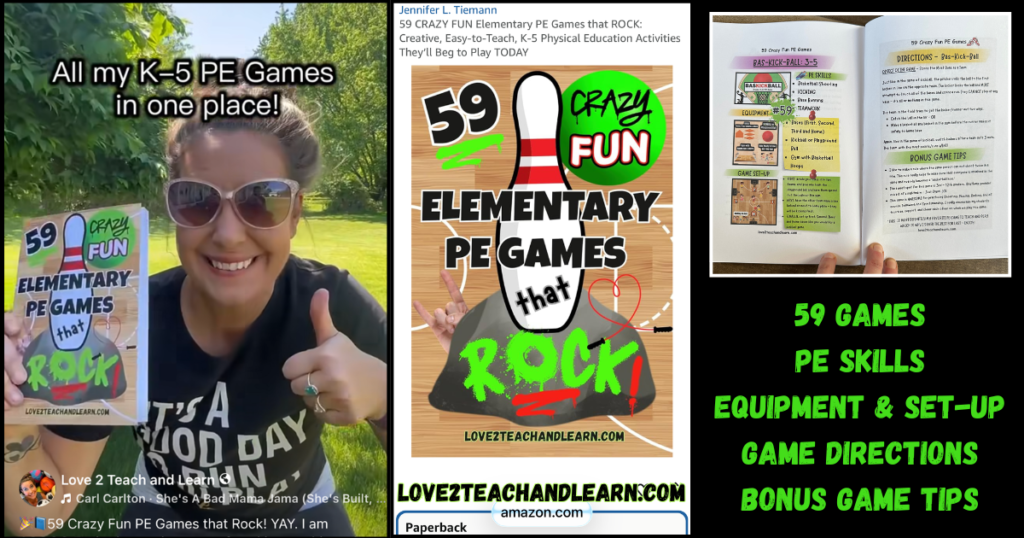
Hi there, it’s so great to meet you! I’m Mrs. T. (or you can call me Jen) – a Michigan mom, wife, new grandma (aka “Jemma”) K-12 PE teacher, blogger (Love 2 Teach and Learn) and author of 59 CRAZY FUN Elementary PE Games that ROCK!
I love teaching PE class because I get to spend time telling Silly SPORTS JOKES and exercising, while laughing with my students.
I’m also on a serious mission to MAKE SCHOOL FUN AGAIN and I believe physical education class is the ABSOLUTE BEST WAY to do just that!
READY! SET! LET’S MAKE SCHOOL FUN AGAIN!
UNDERHAND ROLLING
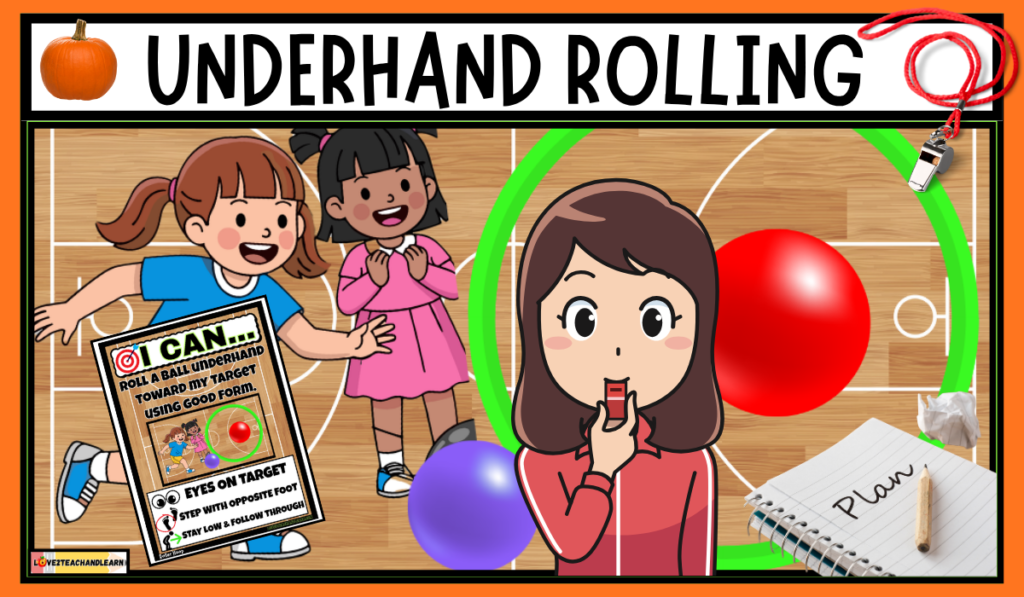
Underhand rolling is a basic PE skill that helps students learn how to control a ball and send it where they want it to go. It’s also a great building block for bowling, throwing for accuracy, and lots of other fun PE skills and games!
HOW TO TEACH IT
QUICK INTRO
DEFINE and EXPLAIN what underhand rolling actually is. The kid-friendly definition that I use to teach underhand rolling to my students is:
- Underhand rolling is sending a ball along the ground toward a target or partner using a smooth underhand motion.
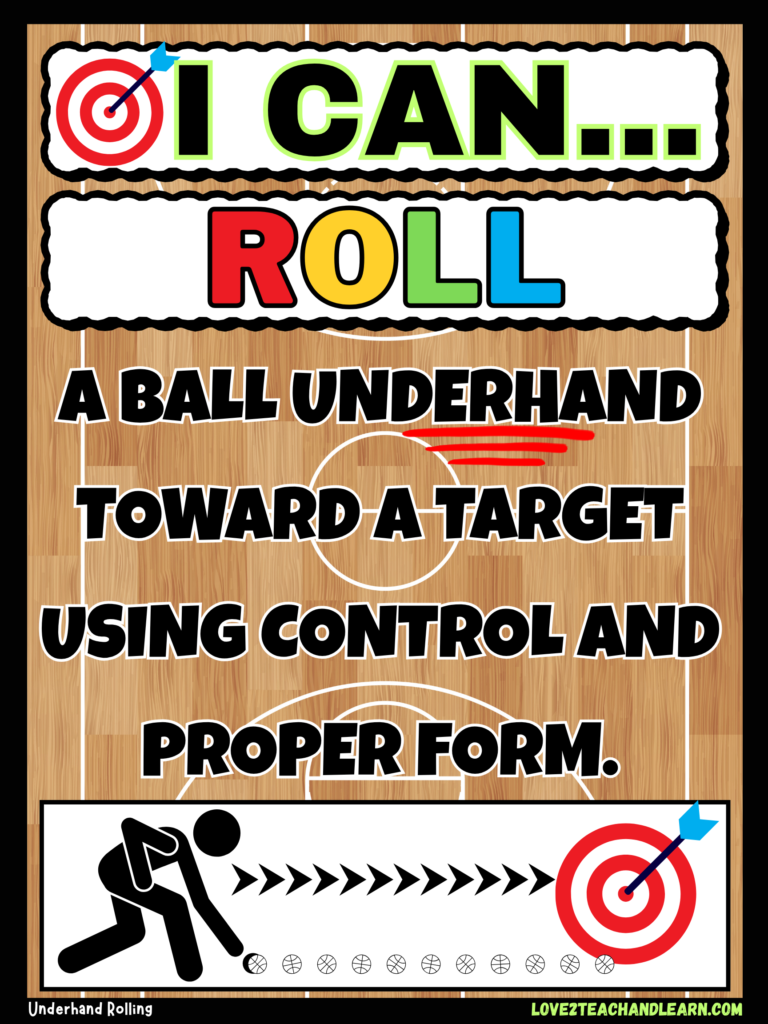
RECITE – Then have students recite the underhand rolling “I CAN” Statement:
- I CAN… ROLL A BALL UNDERHAND TOWARD A TARGET USING CONTROL AND PROPER FORM.
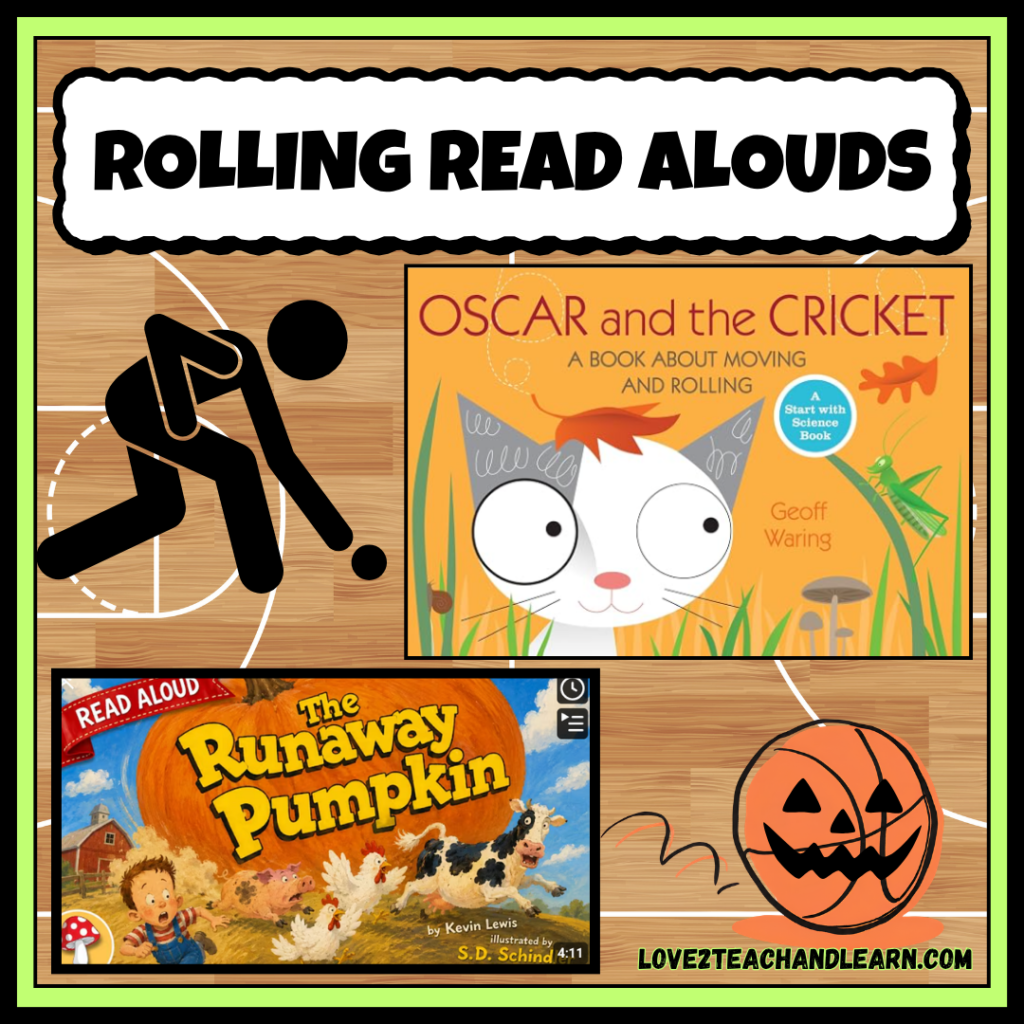
READ ALOUD THE BOOK: Oscar and the Cricket: A Book About Moving and Rolling by Geoff Waring – This book works best with K-3 PE students and is the perfect lead up to a discussion about and introduction to your underhand rolling unit.
- The children’s book, The Runaway Pumpkin by Kevin Lewis is actually my favorite book to read when introducing “underhand rolling” to my students during the month of October. The problem is…the book is currently out of print so it is really hard to find a physical copy of it. However, you can watch and listen to the story on YouTube RIGHT HERE.
MODEL the skill of underhand rolling for your students. This helps students see exactly what a good underhand roll looks like.
- Be sure to show them how to face the target, step forward with the opposite foot, swing the rolling arm back, bend low, release the ball close to the floor, and follow through toward the target.
CUE WORDS & SUCCESS CRITERIA
TEACH CUE WORDS – The simple cue words STEP – SWING – ROLL – LOW – FOLLOW give students an easy way to remember the steps of a great underhand roll. Step with the opposite foot, swing your arm back, roll the ball, release it low to the floor, and follow through toward your target!
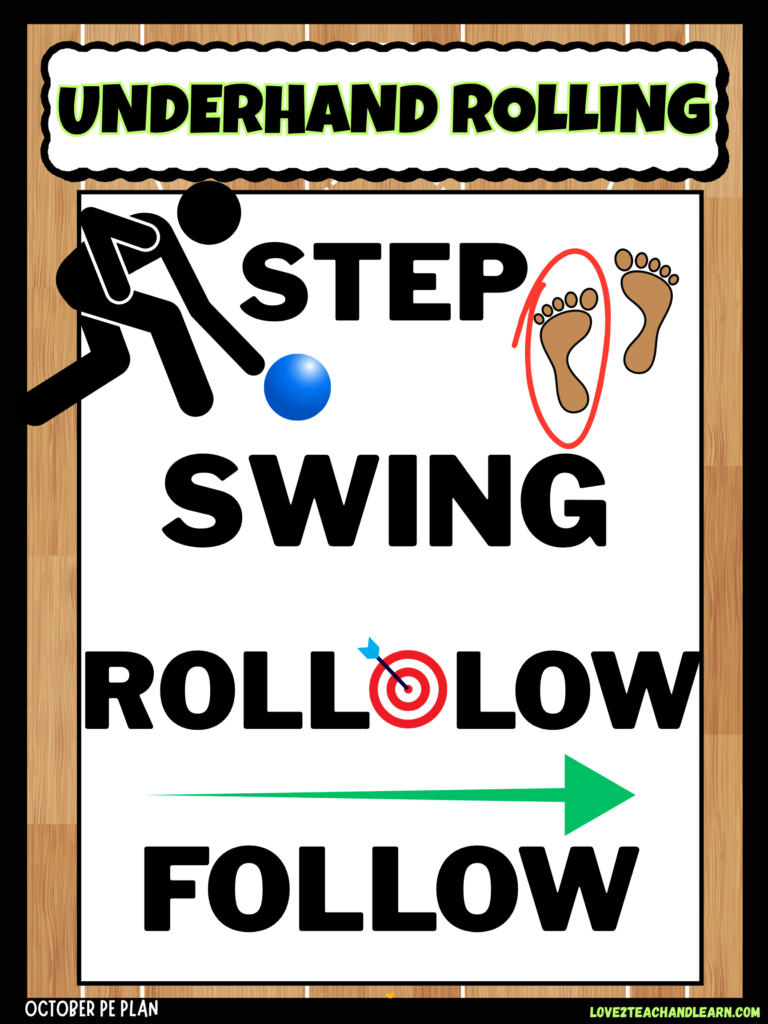
⭐EXPLAIN SUCCESS CRITERIA – I am successful when I can use a smooth underhand rolling motion, step with my opposite foot, release the ball low to the ground, and keep the ball rolling smoothly without bouncing.
- When explaining the success criteria, it can also be helpful to have students visualize or picture themselves doing the skill correctly and then practice the “Step – Swing – Roll – Low – Follow” motion without a ball or equipment before giving it a try!
STUDENT PRACTICE
PRACTICE – Give your students an opportunity to practice their underhand rolling skills, beginning with simple rolling tasks and building up to more difficult activities including:
- Rolling a ball to a wall
- Rolling a ball to a stationary partner
- Rolling a ball through a target
- Rolling a ball at a target
- Increasing the distance
- Rolling a ball to a moving partner
DIFFERENTIATE – Keep in mind that you may need to differentiate your instruction for upper and lower elementary.
- K–2: Focus on basic form, rolling straight, large targets, and shorter distances.
- 3–5: Add smaller targets, greater distances, accuracy challenges, partners, and game situations.
FAVORITE GAMES/PE ACTIVITIES
PLAY FUN ROLLING PRACTICE GAMES – Now that students have learned the basic cue words and fundamentals of underhand rolling, it’s time to put those skills into action with some FUN PE games that give them plenty of opportunities to practice, improve, and build confidence!
My three favorite underhand rolling games are:
- ROLLER HOOP – This is such a fun underhand rolling team PE game. Get all of the “How to Play” game details RIGHT HERE or you can watch a quick video tutorial RIGHT HERE.
- CANDY BOWL – I love this underhand rolling team PE game. Get all of the “How to Play” game details RIGHT HERE. It is also Game #34 in my 59 CRAZY FUN PE Games book.
- HOT POTATO TAG – I also like to introduce Hot Potato Tag while we’re working on underhand rolling, but with a little twist! Instead of throwing and catching the balls like we do in the original game, students roll the balls to their partners, and then later on in the month—after we’ve learned underhand throwing and catching—we play Hot Potato Tag again using the original rules they’re already familiar with. You can check out “How to Play” RIGHT HERE.
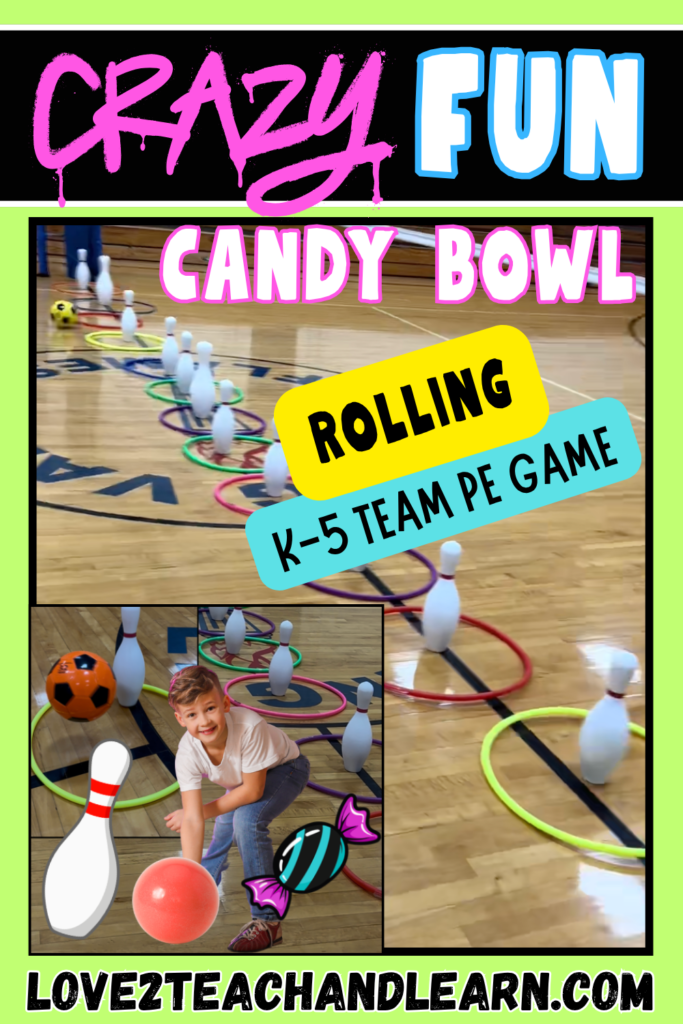
*Candy Bowl, Roller Hoop, and Hot Potato Tag are three of my favorite underhand rolling PE games because they give students tons of fun rolling practice while perfectly preparing them for our next BIG October skill—bowling!
ASSESSMENT
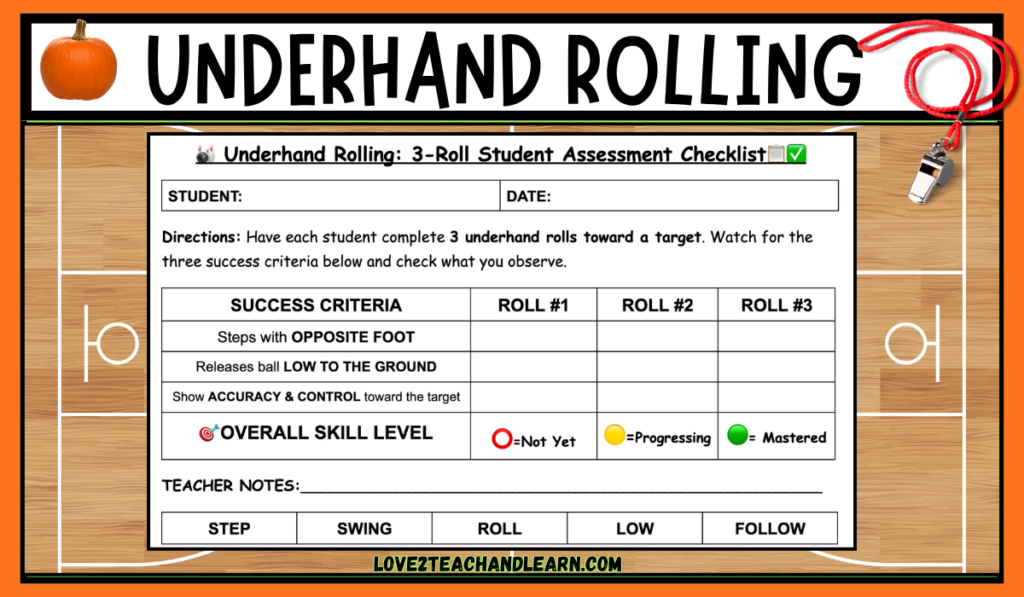
ASSESSMENT – When assessing my students’ underhand rolling skills I look for 3 things: opposite-foot step, low release, and accuracy/control. Here’s an easy way to assess your students:
- Simply give each student three rolls toward a target and watch for three simple things—an opposite-foot step, a low release, and accuracy/control toward the target.
A quick checklist makes it easy to see who has mastered the skill and who could use a little more practice.
BOWLING
Bowling is the next part of our October PE Plan and it’s also my favorite October unit to teach.
Bowling is a fun and familiar way for students to put their underhand rolling skills into action by aiming for a target.
It gives kids lots of practice with accuracy, control, coordination, and good sportsmanship—all while enjoying the excitement of knocking down those pins!
HOW TO TEACH IT
QUICK INTRO
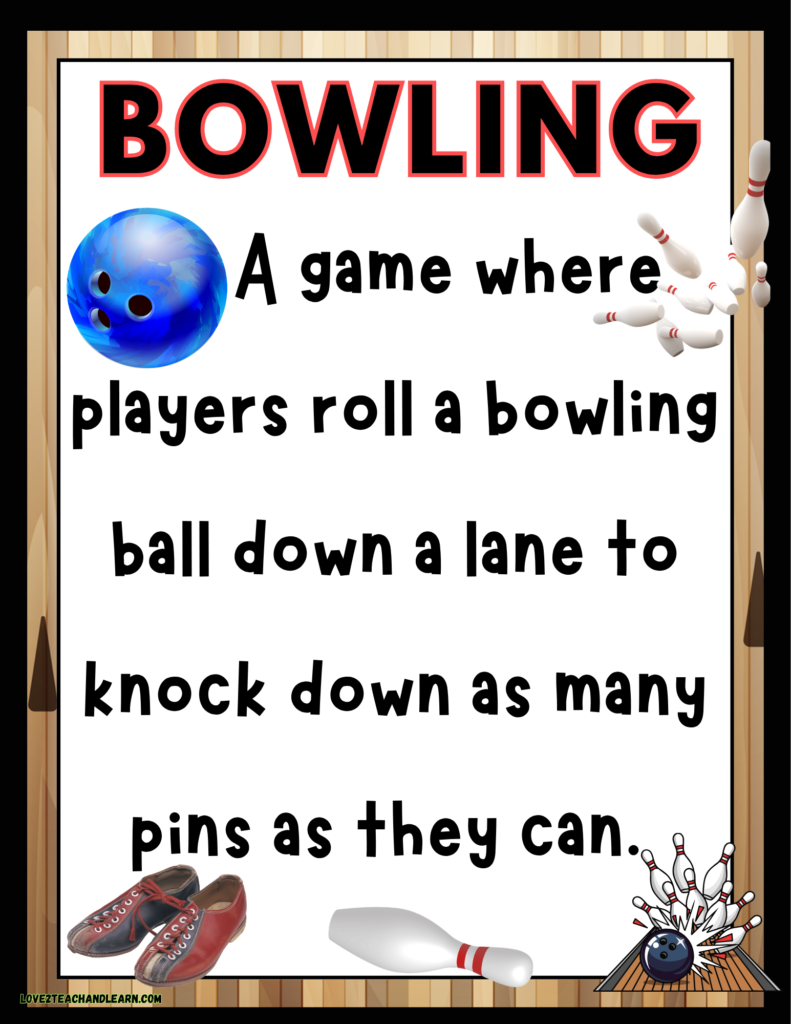
DEFINE and EXPLAIN what bowling actually is. The kid-friendly definition that I use to teach bowling to my students is: A game where players roll a bowling ball down a lane to knock down as many pins as they can.
- This is also a great time to connect bowling back to underhand rolling. Remind students that they already know much of what they need!
- Bowling uses many of the same fundamentals: stepping with the opposite foot, swinging the arm, releasing low, and following through toward the target.
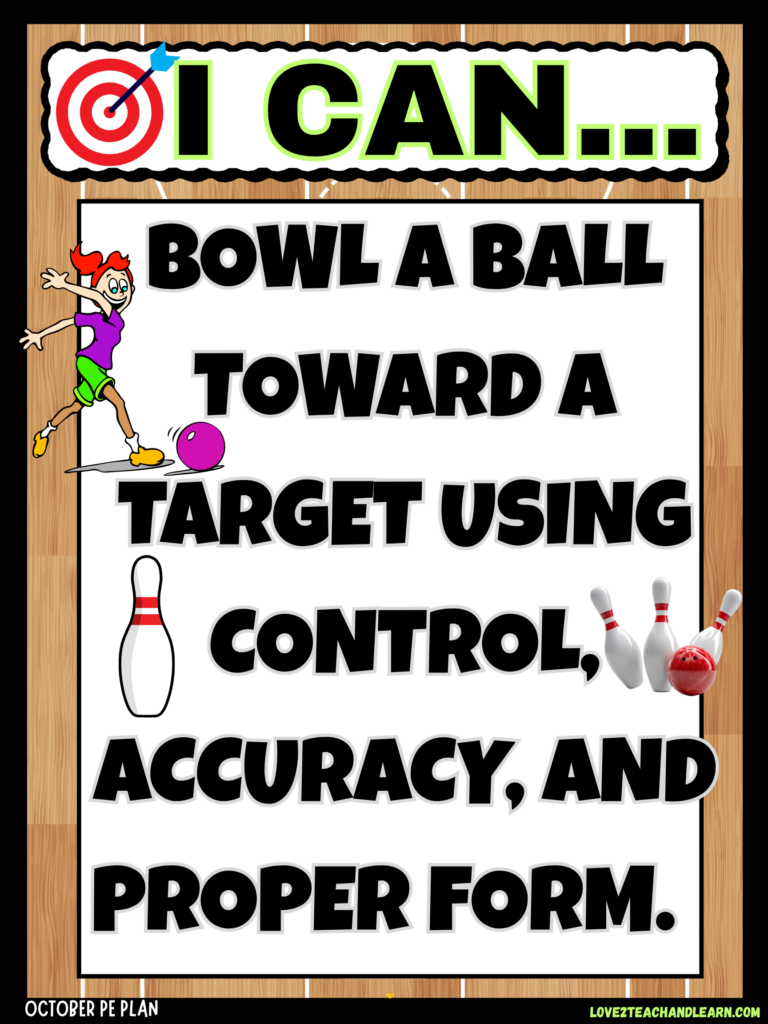
RECITE – Then have students recite the underhand rolling “I CAN” Statement:
- I CAN… BOWL A BALL TOWARD A TARGET USING CONTROL, ACCURACY, AND PROPER FORM.
TEACH BOWLING VOCABULARY – It’s important to introduce your students to some basic bowling vocabulary and define the following terms for them: Lane, Pins, Strike, Spare, Frame and Foul Line.
- LANE – The long area where you roll the bowling ball toward the pins.
- PINS – The objects at the end of the lane that you try to knock down with the ball.
- STRIKE – When you knock down all 10 pins on your first roll. 🎉
- SPARE – When you knock down all 10 pins using two rolls.
- FRAME – One turn in a bowling game, usually giving you up to two chances to knock down the pins.
- FOUL LINE – The line at the beginning of the lane that you should not step over when you bowl.
VIRTUAL FIELD TRIP – Show your K-3 students this 7-Minute BOWLING VIRTUAL FIELD TRIP VIDEO. I love this video because it’s an awesome kid-friendly and fun introduction to your bowling unit that’s actually very educational. You can check it out RIGHT HERE.
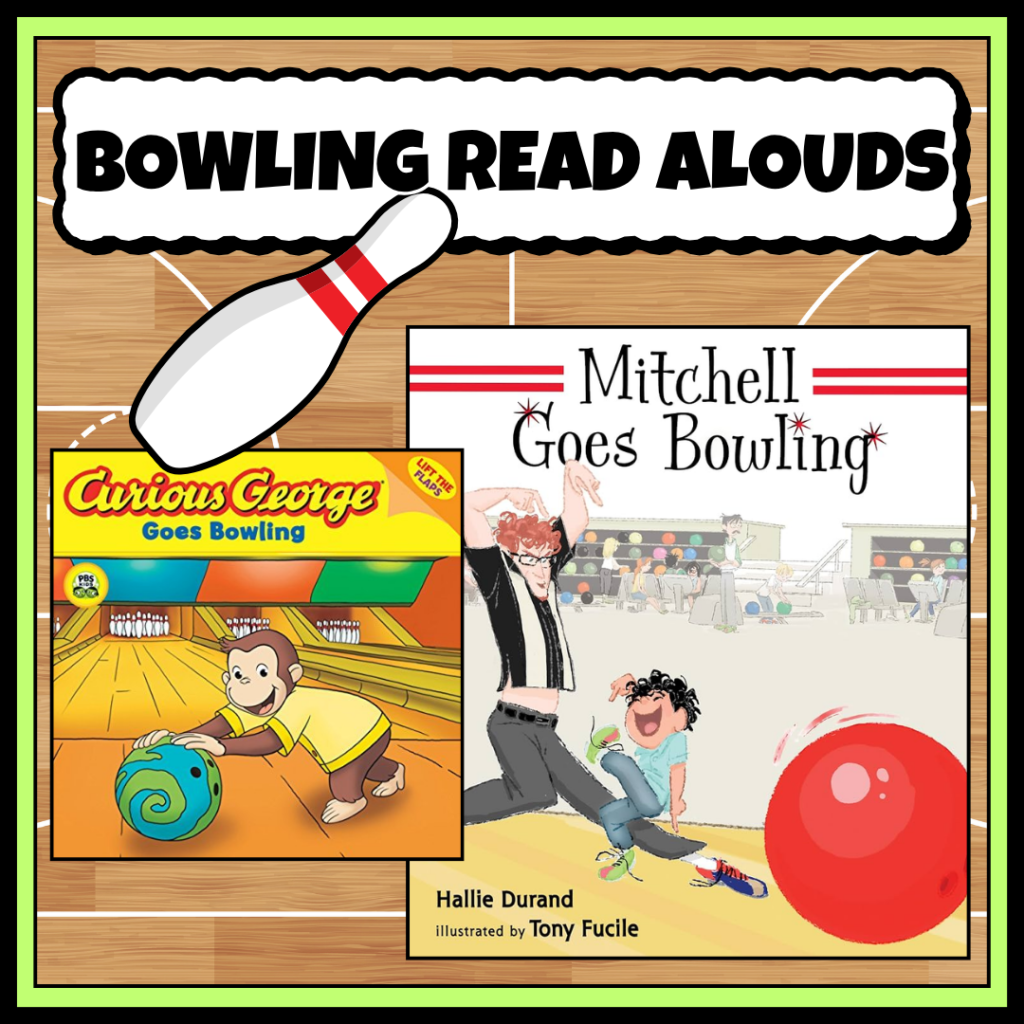
- I also like to read aloud the children’s book Mitchell Goes Bowling by Hallie Durand. I have the book and prefer to read it aloud to my students but if you don’t have the book you can watch and listen to the book RIGHT HERE!
- CURIOUS GEORGE GOES BOWLING is another awesome bowling read aloud or a quick and fun listen to on YouTube.
MODEL the skill of proper bowling form so they can see exactly what success looks like—step with the opposite foot, swing the arm smoothly, release the ball low, and follow through toward the pins.
- You can even have students visualize knocking down the pins and “practice bowl” without a ball, going through each motion before adding equipment.
BONUS TEACHING – If you’re lucky enough to have real rubber bowling balls with finger holes in your PE equipment, take a minute to teach students the proper grip: thumb in the bottom hole, with the middle and ring fingers in the two top holes. Practicing the correct finger placement helps students hold, control, and release the ball more comfortably and safely.
- Additionally, I like to teach a simple BOWLING APPROACH. For younger students, I just call this a simple “One-Step Bowling Approach.” Once older students have mastered that, you can introduce a 3- or 4-step approach if you want to make the skill more authentic and challenging.
CUE WORDS & SUCCESS CRITERIA
TEACH CUE WORDS – Since bowling builds directly on underhand rolling, we’ll keep the same easy cue words students already know: STEP – SWING – ROLL – LOW – FOLLOW This time, we’ll simply add one important bowling reminder:
🎯AIM FOR THE PINS!
⭐EXPLAIN SUCCESS CRITERIA – I am successful when I can step with my opposite foot, release the ball low, roll with control and accuracy, and follow through toward the pins.
STUDENT PRACTICE
BOWLING SAFETY – It’a almost time to practice, but before practicing, it is important to go over some bowling safety rules with your students because bowling pins + balls + excited elementary kids can get chaotic very quickly! Here are five kid-friendly bowling safety rules:
- #1 Wait for your turn — Only one bowler at a time!
- #2 Roll the ball—never throw it! Keep the ball low and on the floor.
- #3 Stay behind the foul line when you bowl.
- #4 Keep your lane clear — Make sure no one is in front of you before you roll.
- #5 NEVER STOP A ROLLING BOWLING BALL WITH YOUR HANDS — Use your foot and stop/trap it like a soccer ball instead before picking it up.
PRACTICE – When practicing bowling I place my students in groups of 4.
I use poly dots and each student has a designated spot around the bowling lane.
The student in Position #1 is the BOWLER. The student in Position #2 is the SCOREKEEPER. The student in Position #3 is the PIN SETTER and the student in POSITION #4 is the BALL RETURNER, as well as, the NEXT BOWLER.
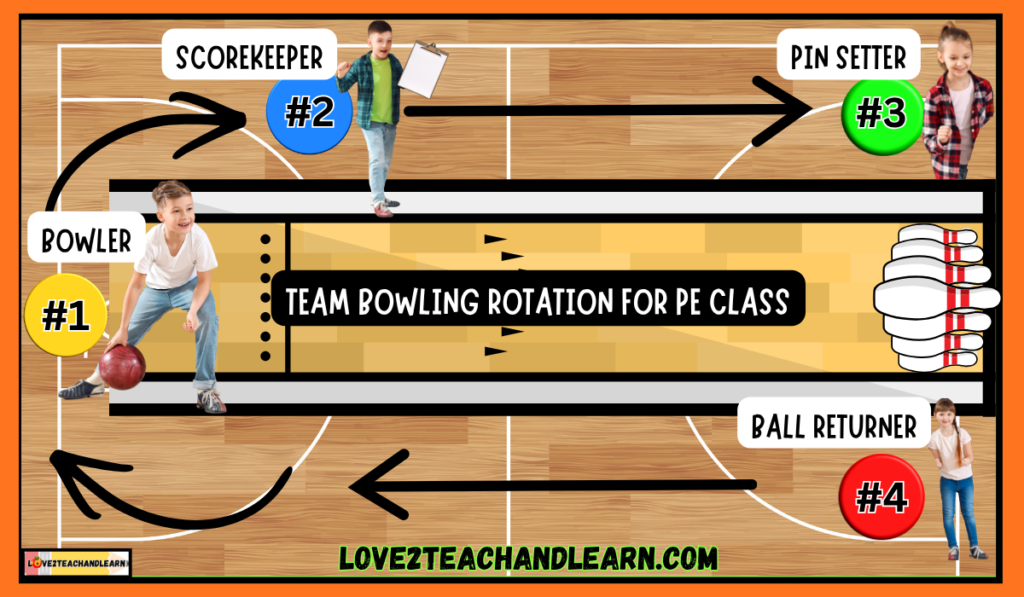
PRACTICE PROGRESSION – When teaching bowling, start simple and build up the challenge as students gain confidence and control.
- Begin by rolling toward a large target, then progress to a single pin → multiple pins → a full pin setup → and finally, fun bowling games and challenges!
DIFFERENTIATE – Keep in mind that you may need to differentiate your instruction for upper and lower elementary.
The K–2 experience should be much more about success, form, and fun, while your 3–5 students can handle more challenge, strategy, and actual bowling scoring.
K–2 Bowling
- Use larger or lighter balls that are easier to control.
- Move students closer to the pins and gradually increase the distance.
- Start with larger targets or fewer pins before working up to a full set.
- Focus heavily on the basic cues: Step – Swing – Roll – Low – Follow!
- Keep scoring simple—students can count how many pins they knock down on each roll.
- Try simple challenges such as “Can you knock down 3 pins?” or “Can you beat your own score?”
- Emphasize taking turns, cheering for others, and safe bowling behaviors rather than winning.
3–5 Bowling
- Increase the distance from the pins and use smaller or more challenging targets.
- Expect students to demonstrate more consistent accuracy, control, opposite-foot stepping, and follow-through.
- Introduce strikes, spares, frames, and the basic rules of traditional bowling.
- Have students keep a simple bowling scorecard and practice adding their scores.
- For older or more advanced students, introduce traditional bowling scoring, including the bonus points earned from strikes and spares.
- Add team bowling, accuracy challenges, different pin formations, and strategy-based games.
- Encourage students to think about where they should aim rather than simply trying to roll the ball as hard as possible.
FAVORITE GAMES/PE ACTIVITIES
PLAY FUN BOWLING GAMES – After plenty of practice and lots of chances to build confidence with the basic bowling skills, students are ready to put it all together with some FUN bowling games and challenges!
Here’s a list of my very favorite PE Bowling Games and Activities:
- GHOSTBUSTERS – This is my favorite rolling/bowling game to teach and play, especially during the month of October when we’re celebrating Halloween. It incorporates a bunch of other PE skills but you can just modify it and have the kids only roll the balls to knock down the pins if you want. Get all of the “How to Play” game details RIGHT HERE. It’s also GAME #38 in my 59 CRAZY FUN PE Games Book.
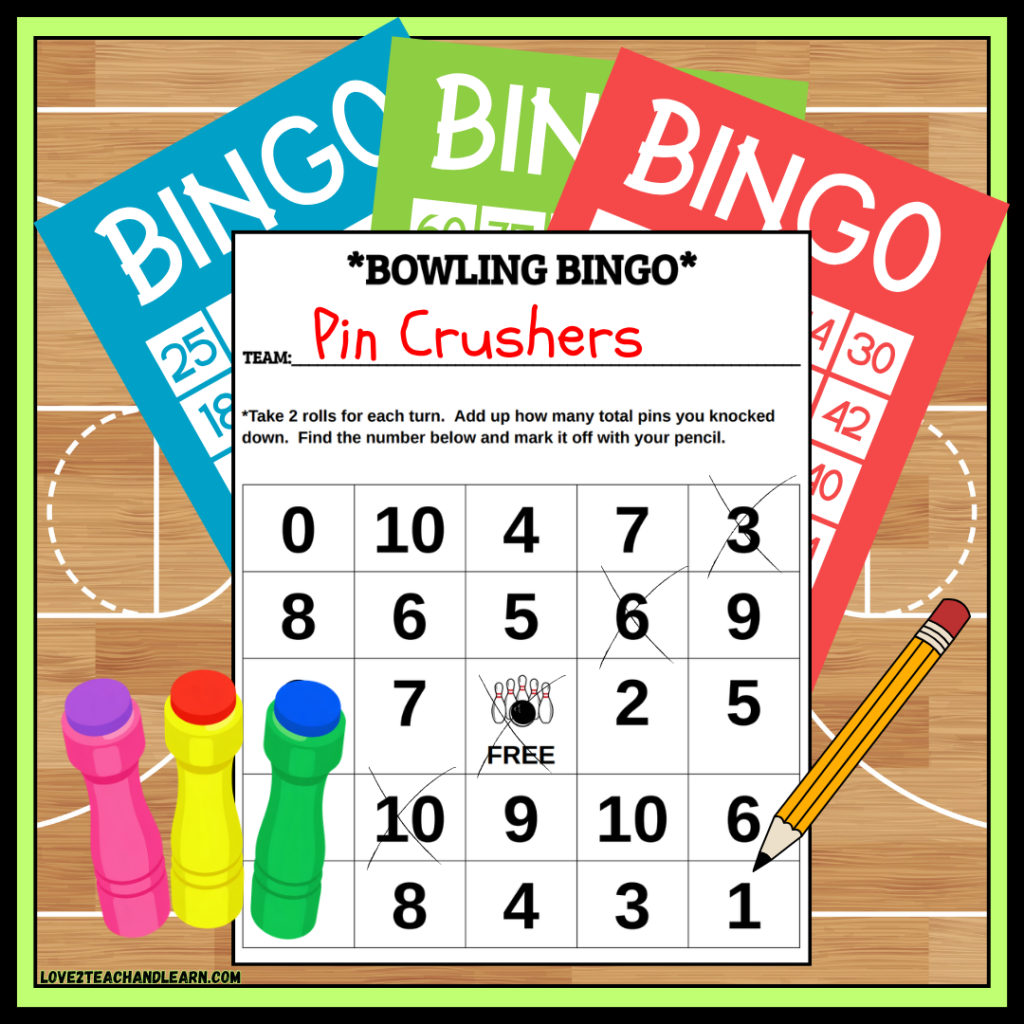
- BOWLING BINGO – Take 2 rolls for each turn. Add up how many total points you knocked down. Find the number on your scorecard and mark it off with your pencil. Get all the GAME DETAILS + ScoreCard HERE!
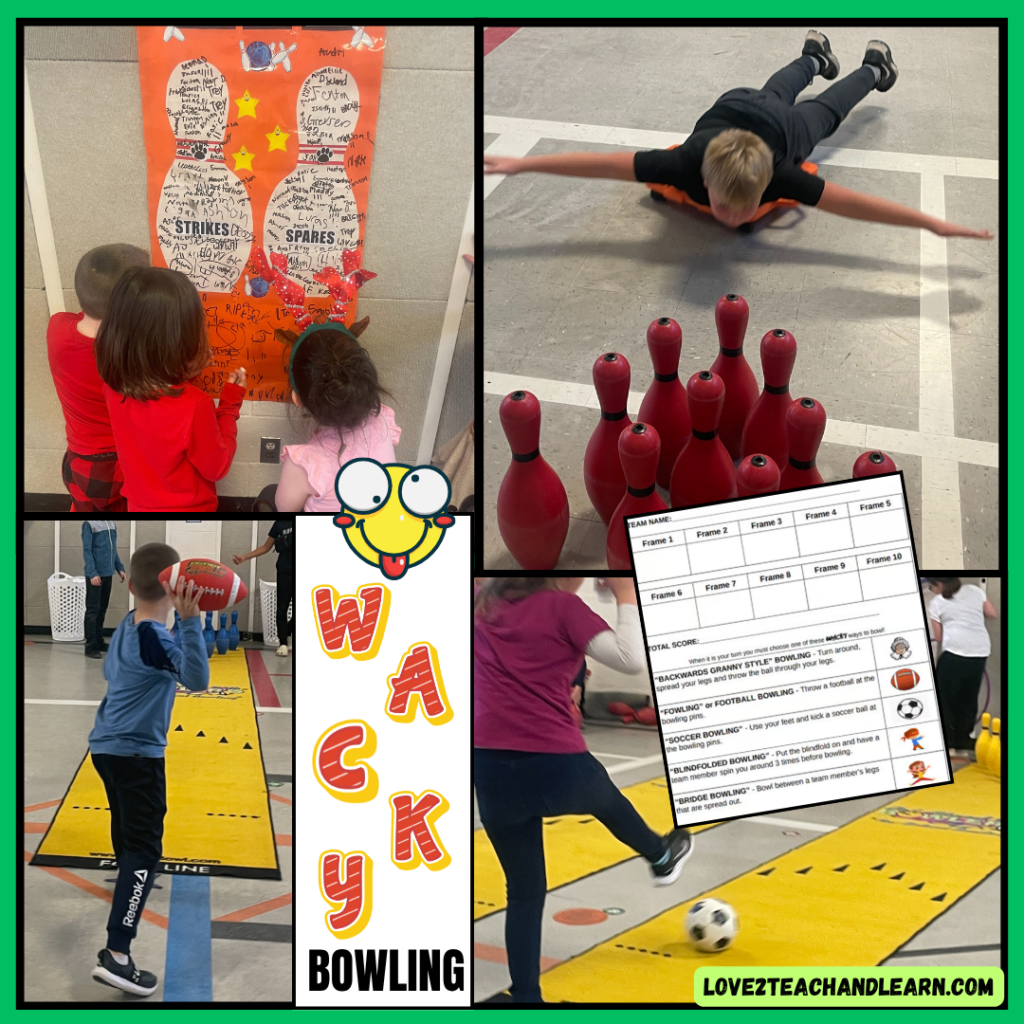
- WACKY BOWLING – I love to play this Wacky Bowling Game with my students on the very last day of our PE bowling unit. Students get to choose from 5 different “wacky” ways that they can bowl including: GRANNY STYLE BOWLING or BACKWARDS GRANNY STYLE, FOWLING (Football Bowling, SOCCER BOWLING, BLINDFOLDED BOWLING and BRIDGE BOWLING. Get all the “How to Play” Game Details RIGHT HERE.
- BOWLING BUNDLE – Be sure to check out my 6 Piece BOWLING BUNDLE Right Here that includes: 20 Fun and Interesting BOWLING FACTS for Kids, 20 BOWLING JOKES for Kids, “I CAN” Learning Target POSTER, BOWLING BINGO SCORECARD, WACKY BOWLING GAME and a BOWLING PE RESEARCH PROJECT + Rubric.
- BOWLING BULLETIN BOARD – I even have an Instant, Print and Post, Bowling Bulletin Board waiting for you. Check it out RIGHT HERE.
ASSESSMENT
ASSESSMENT – When assessing my students’ bowling skills, I keep it simple and basically use the same criteria that I used for assessing underhand rolling.
I use the 3-Roll System checklist and watch for:
- Steps with OPPOSITE FOOT
- Releases the ball LOW TO THE GROUND
- Shows ACCURACY & CONTROL toward the target (Pins)
UNDERHAND THROWING
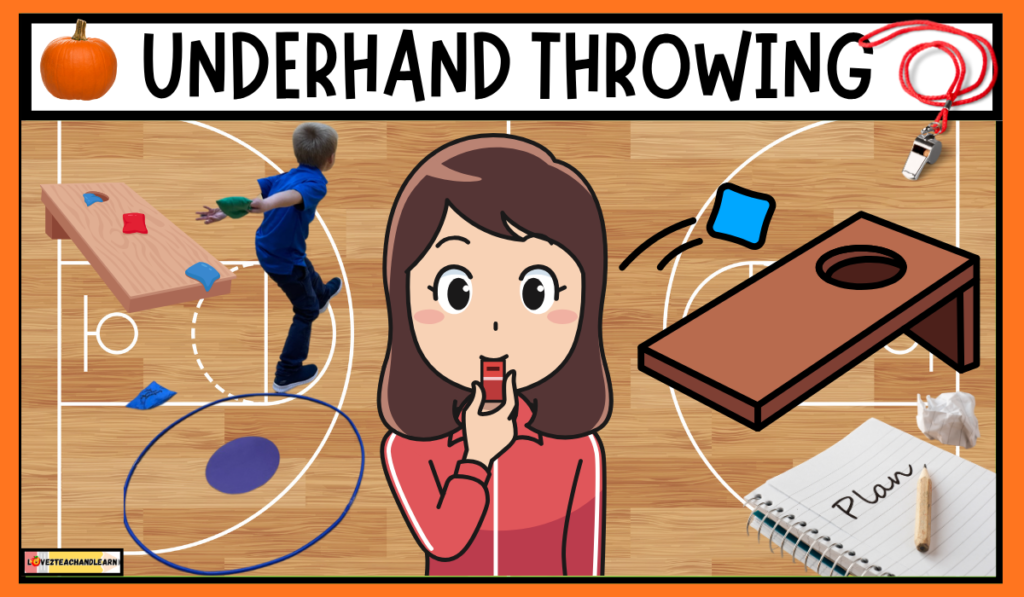
Underhand throwing is the perfect next step in our October PE Plan because students already know so much of the movement from underhand rolling and bowling!
We’ll use that same step, swing, aim, and follow-through motion, but now instead of keeping the ball low and rolling it along the floor, we’re going to send it through the air toward a partner or target.
HOW TO TEACH IT
QUICK INTRO
EXPLAIN that underhand throwing is an important object-control skill used in tons of PE games and activities.
It helps students develop accuracy, control, coordination, and confidence and gets them ready for the next big skill—catching!
DEFINE Underhand Throwing for yours students.
The kid-friendly definition that I use to teach underhand throwing to my students is: Throwing an object by swinging your arm forward from below your waist and sending it through the air toward a partner or target.
REMIND students that they already know most of the movement and that they are simply building on the cues they’ve already practiced with rolling and bowling – they are making just one small change.
Now, we are THROWING the object through the air instead of rolling it along the ground.
RECITE – Then have students recite the underhand throwing “I CAN” Statement:
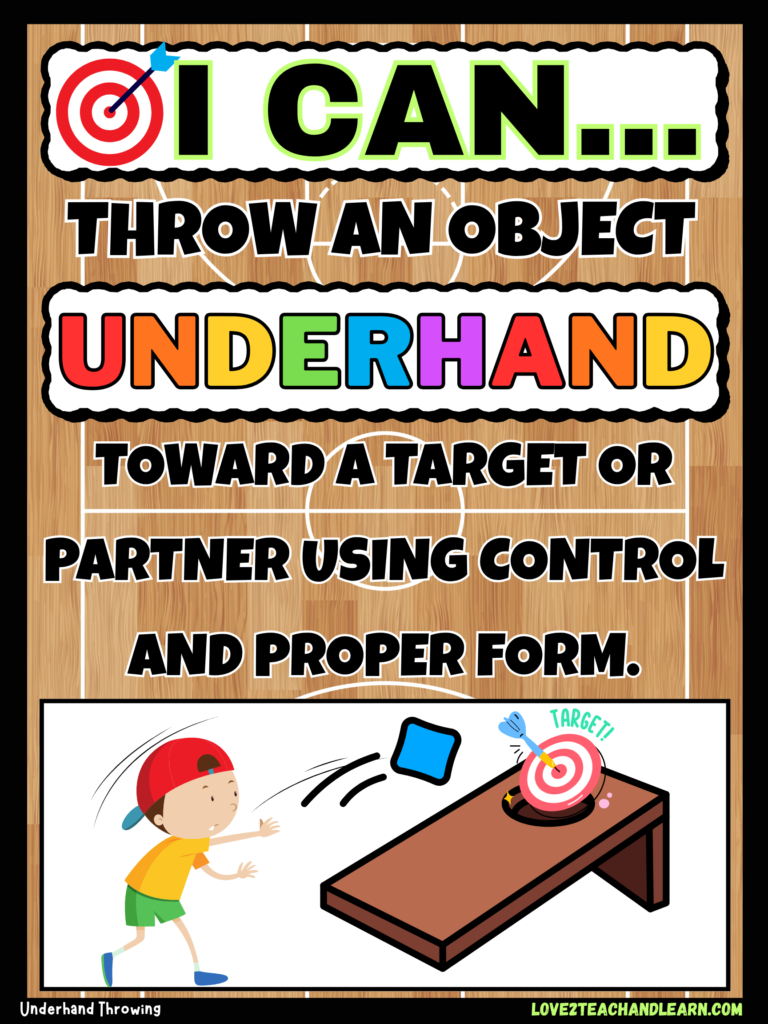
- I CAN…throw an object underhand toward a target or partner using control and proper form.
Same basic movement, one new skill!
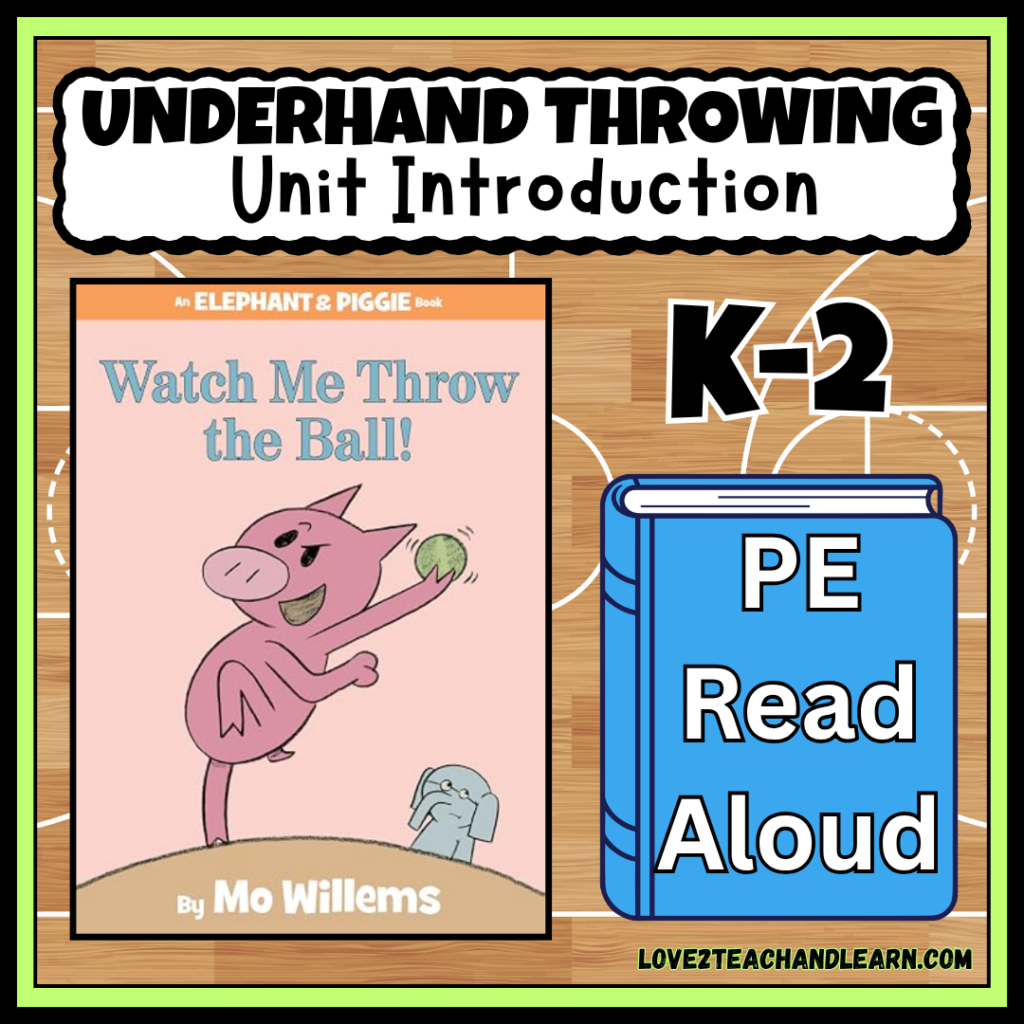
READ ALOUD THE BOOK: Watch Me Throw the Ball! by Mo Willems – This is an Elephant & Piggie book where Gerald tries to teach Piggie about throwing a ball, while Piggie is much more interested in simply having fun with it. It’s funny, very kid-friendly, and perfect for introducing underhand throwing to K-2 students.
MODEL the skill of underhand throwing for your students. This helps students see exactly what a good underhand throw looks like.
- Be sure to show students how to face the target, step with the opposite foot, swing the throwing arm back and forward, release out in front, and follow through toward the target.
- Then have students visualize a successful underhand throw and practice the motion without an object first.
CUE WORDS & SUCCESS CRITERIA
TEACH CUE WORDS -To keep things simple and consistent, we’ll build on the cue words students already know and use STEP – SWING – THROW – FOLLOW with one important reminder:
🎯KEEP YOUR EYES ON THE TARGET!
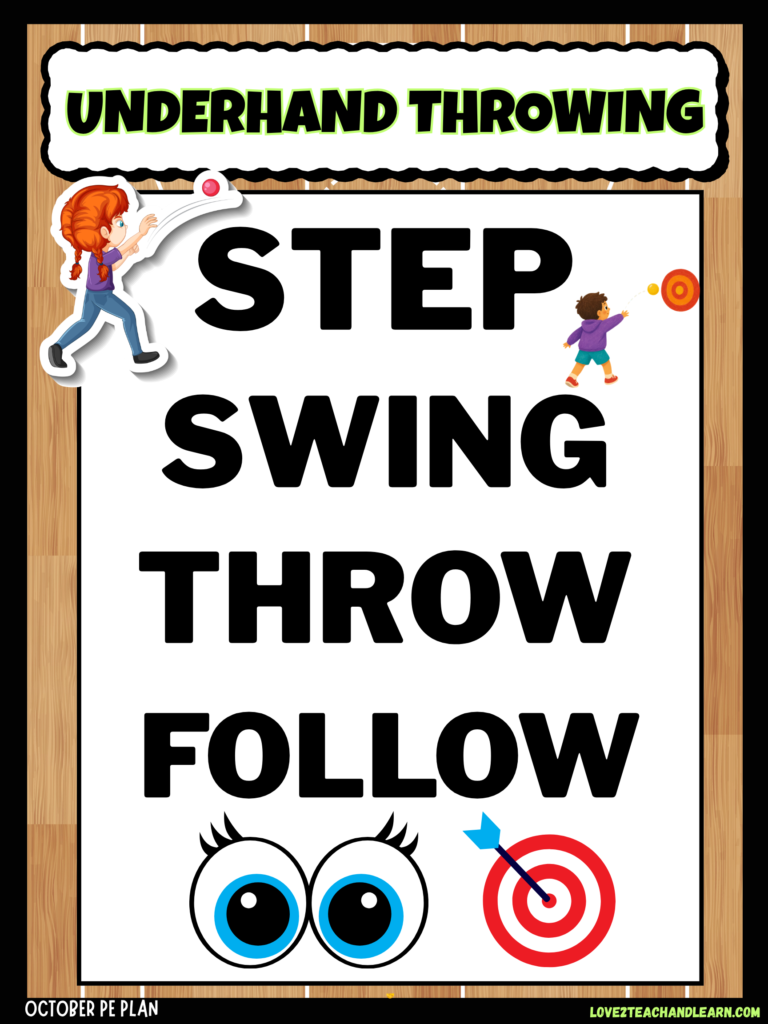
⭐EXPLAIN SUCCESS CRITERIA – I am successful when I step with my opposite foot, use a smooth underhand swing, release the object toward my target, and follow through with control.
STUDENT PRACTICE
PRACTICE – Give your students an opportunity to practice their underhand throwing skills, beginning with simple throwing tasks and building up to more difficult activities including:
- Large Target
- Partner Toss
- Smaller Target
- Increase Distance
- Game Situations
Start close and easy so kids experience success before increasing the challenge.
It’s also a good idea to start with easy-to-control, kid-friendly equipment before moving to traditional balls.
For example: Beanbags → Yarn/soft balls → Foam balls → Different-sized balls
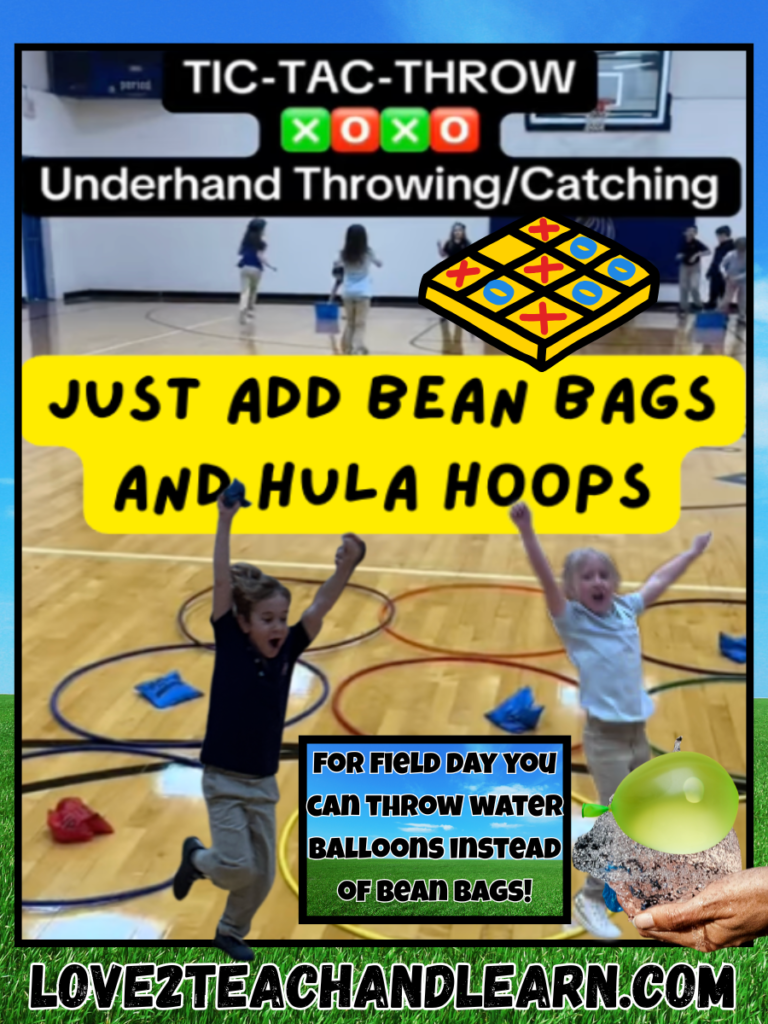
TOSS & FLIP is a truly Awesome underhand throwing practice game. Just add bean bags and hula hoops. Watch exactly how to play RIGHT HERE.
FAVORITE GAMES/PE ACTIVITIES
PLAY FUN UNDERHAND THROWING PRACTICE GAMES – Now that students have learned the basic cue words and fundamentals of underhand throwing, it’s time to put those skills into action with some FUN PE games that give them plenty of opportunities to practice, improve, and build confidence!
My four favorite underhand throwing games are:
- MONEY DOTS – I love this underhand throwing team PE game that uses cool, fake money from the Dollar Store. Get all of the “How to Play” game details RIGHT HERE. It is also Game #22 in my 59 CRAZY FUN PE Games book.
- BULLSEYE BAGS – This “cornhole in the gym” underhand throwing game is so much fun. Get all of the “How to Play” game details RIGHT HERE. It is also Game #23 in my 59 CRAZY FUN PE Games book.
- CHICKEN CLIMBS THE LADDER – This underhand throwing relay game is played with squeaky rubber chickens and it is an absolute blast. Get all of the “How to Play” game details RIGHT HERE. It is also Game #20 in my 59 CRAZY FUN PE Games book.
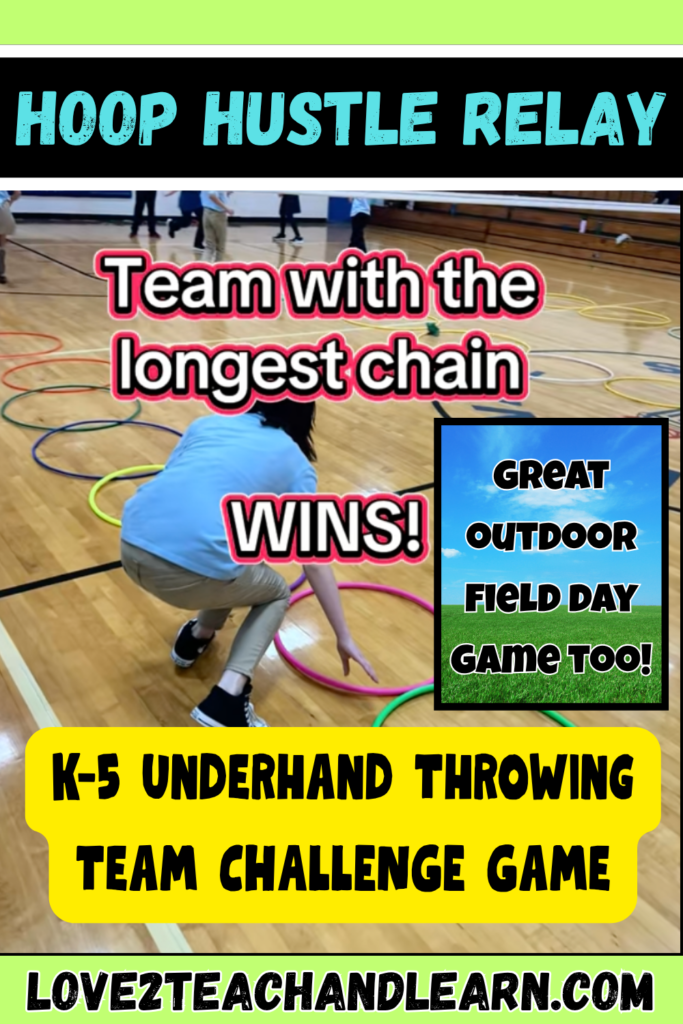
- HOOP HUSTLE RELAY is another relay-style team underhand throwing game that your students will beg to play again and again. Get all of the “How to Play” game details RIGHT HERE. It is also Game #30 in my 59 CRAZY FUN PE Games book.
ASSESSMENT
ASSESSMENT – When assessing my students’ underhand throwing skills I look for 4 things: opposite-foot step, smooth swing/release, accuracy/control toward the target and follow through toward the target. Here’s an easy way to assess your students:
- Simply give each student three attempts or throws toward a target and watch for opposite-foot step, smooth swing/release, accuracy/control toward the target and follow through toward the target.
- A quick checklist makes it easy to see who has mastered the skill and who could use a little more practice.
CATCHING
Catching is one of the most important foundational object-control skills because students will use it in countless PE games, sports, partner activities, and team games.
We’ve progressed from Underhand Rolling → Bowling → Underhand Throwing → Catching, and now that students have practiced sending an object with aim and control, it’s time to switch gears and learn how to RECEIVE one!
HOW TO TEACH IT
QUICK INTRO
DEFINE Catching for your students.
The kid-friendly definition that I use to teach catching to my students is: Using your hands and eyes together to safely receive and control an object that is coming toward you.
RECITE – Then have students recite the catching “I CAN” Statement:
- I CAN…catch an object with control by watching it, getting my hands ready, and bringing it safely toward my body.
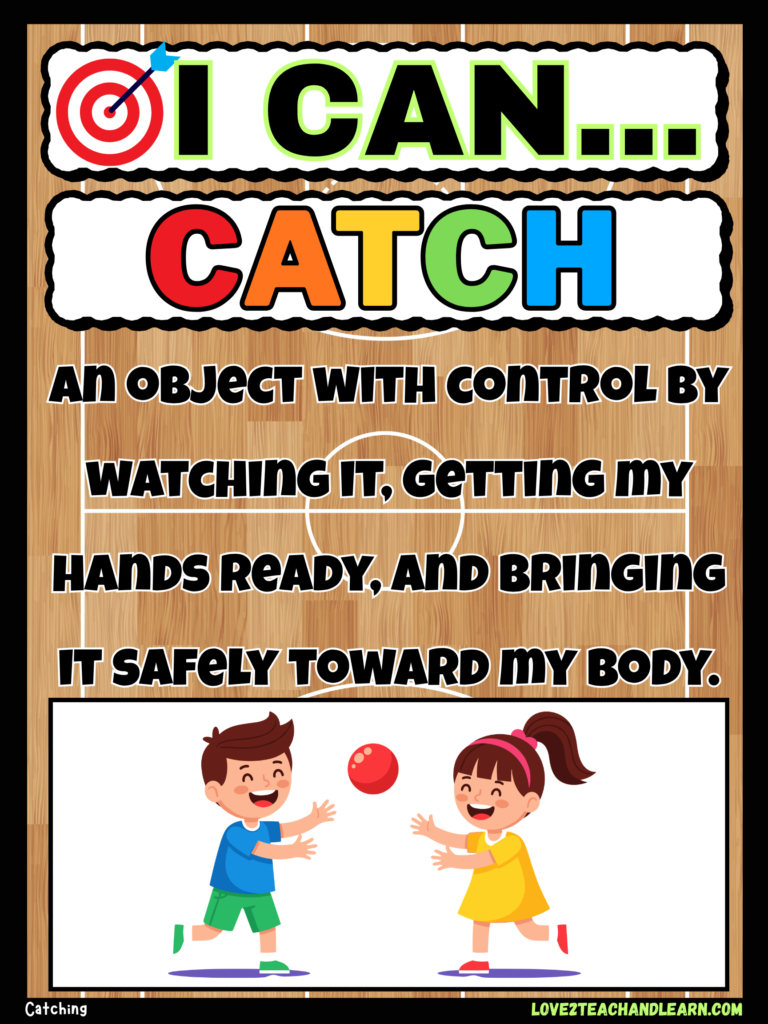
MODEL PROPER CATCHING FORM: Before giving students equipment, demonstrate what a successful catch looks like:
- When modeling catching, have students watch as you slowly LOOK at the object as it comes toward you, REACH your hands toward it, GRAB it with your hands, and HUG it gently toward your body to gain control.
CUE WORDS & SUCCESS CRITERIA
TEACH CUE WORDS: LOOK – REACH – GRAB – HUG
- Then have students practice LOOK – REACH – GRAB – HUG with an imaginary ball before adding actual equipment.
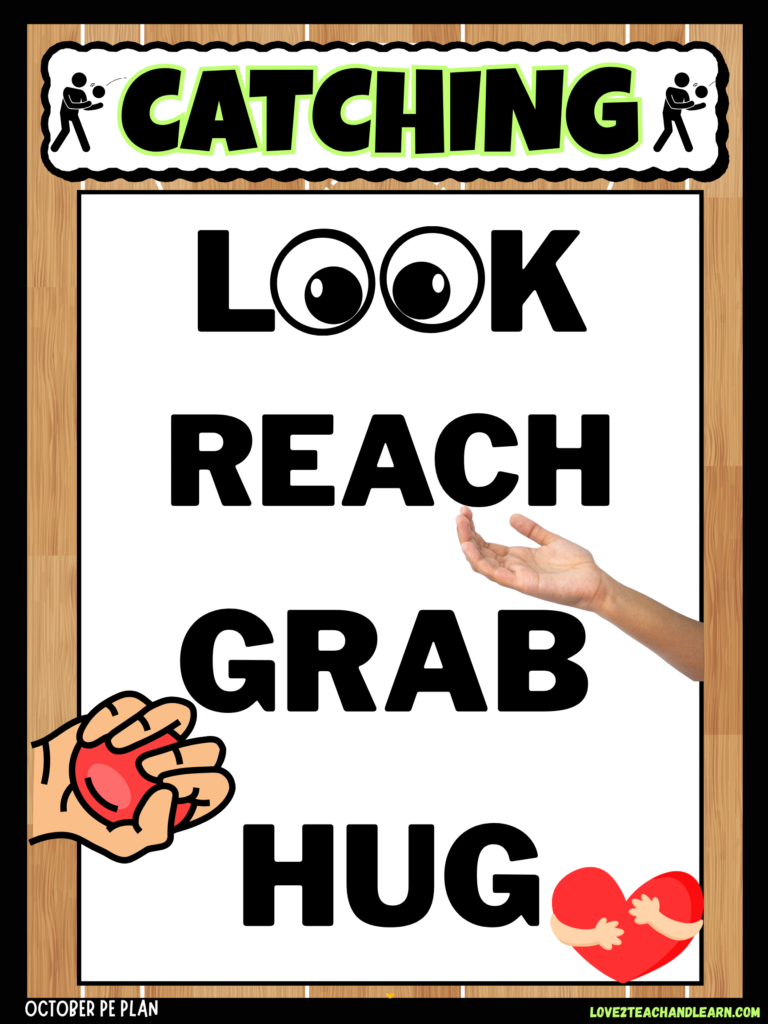
⭐EXPLAIN SUCCESS CRITERIA – I am successful when I LOOK at the object, REACH my hands toward it, GRAB it with control, and HUG it safely toward my body.
TEACH HANDS ABOVE or BELOW – This does not need to be complicated, however, I do think it is an important part of learning to catch properly and definitely worth mentioning and teaching to your students.
- ABOVE THE WAIST: Fingers generally point up when preparing for the catch.
- BELOW THE WAIST: Fingers generally point down when preparing for the catch.
STUDENT PRACTICE
PRACTICE FIRST WITH EASY, NON-THREATENING EQUIPMENT – This is HUGE for catching confidence.
I’d first start with scarves which are fantastic for beginners because they move slowly and give students lots of time to track, reach, and catch. Then, I would gradually move toward objects that travel faster.
Here is a progression that works really well:
- Scarves → Beanbags → Yarn Balls → Foam Balls → Playground Balls
PRACTICE SELF-CATCHING BEFORE PARTNERS – Students should experience plenty of success catching their own tosses before another student starts sending objects toward them.
My absolute favorite self-tossing and catching game is HIGH TO THE SKY. You can check it out RIGHT HERE.
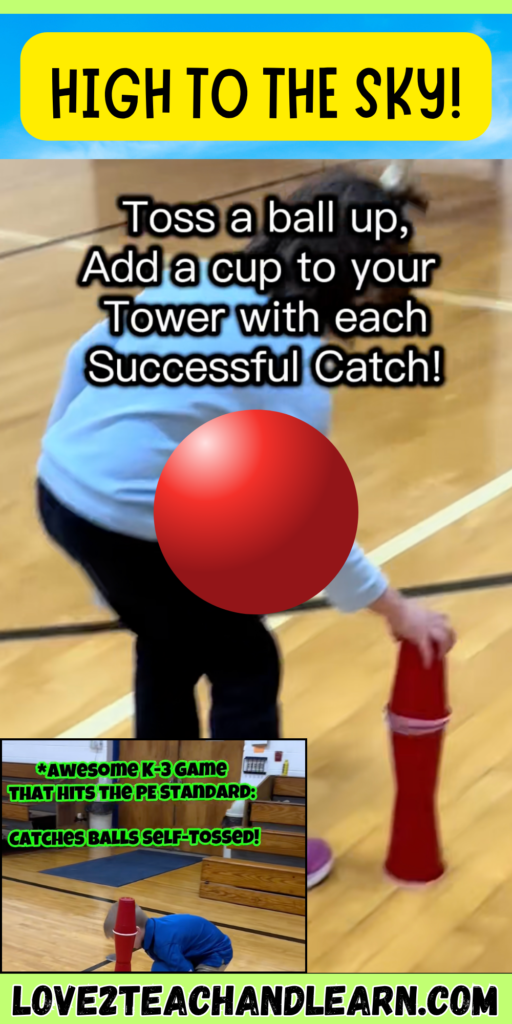
Here are a bunch of other quick and easy self-catching challenges you can try with your students.
- Toss & Catch – Toss the ball straight up and catch it with two hands.
- Toss, Clap & Catch – Toss, clap once, then catch. Add more claps for a challenge!
- Toss, Touch & Catch – Toss the ball, touch your knees, then catch it.
- Low Toss, High Toss – Alternate between tossing the ball low and tossing it higher.
- Right Hand, Left Hand – Toss with one hand and catch with two, then switch throwing hands.
- Rainbow Toss 🌈 – Toss the ball in an arc from one hand to the other.
- Turn & Catch – Toss the ball, make a small quarter- or half-turn, then catch it.
- Sit & Catch – Practice tossing and catching while sitting, kneeling, or in another body position.
- Bounce & Catch – Bounce the ball on the floor and catch it after one bounce.
- How Many Can You Catch? – See how many successful self-tosses and catches students can make in a row without dropping the ball.
INTRODUCE PARTNER CATCHING – Pair students and remind the thrower to use the underhand throwing skills and cues they have already learned: STEP – SWING – THROW – FOLLOW.
Meanwhile, the catcher focuses on LOOK – REACH – GRAB – HUG. Now both partners are practicing a skill at the same time – YAY!
- HOT POTATO TAG is my all-time favorite partner-catching game, and the best part is that students have already been introduced to it earlier in the month using our modified underhand rolling version!
- Now that they’ve learned underhand throwing and catching, we can bring the game back and play it the original way—giving students tons of fun partner throwing and catching practice! And in case you forgot – here’s how to play.
FAVORITE GAMES/PE ACTIVITIES
PLAY FUN THROWING AND CATCHING PRACTICE GAMES – Now that students have learned the basic skills of underhand throwing and catching, it’s time to put them together and build confidence through some FUN throwing and catching PE games!
Here’s a list of my favorites:
- CATCH AND STACK – (Game #33 in my book) – Get all the “How to Play” Details HERE.
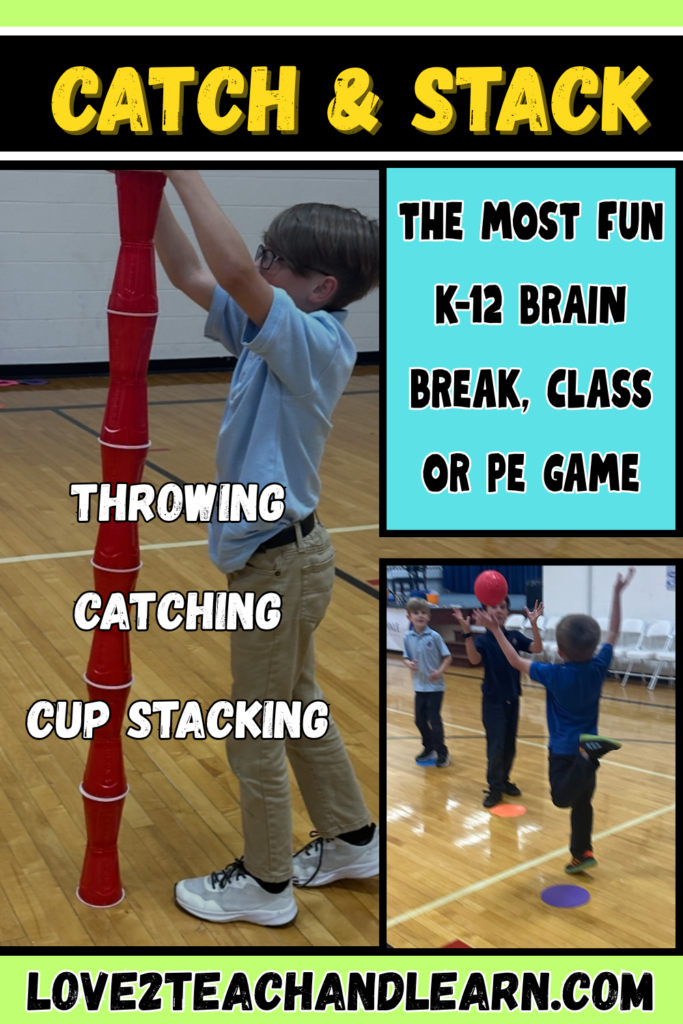
- FIRE AND ICE TAG – Get all the “How to Play” Details HERE.
- HUNGRY MONSTERS – (Game #48 in my book) – Get all the “How to Play” Details HERE.
- TIC TAC THROW – (Game #31 in my book) – Get all the “How to Play” Details HERE.
ASSESSMENT
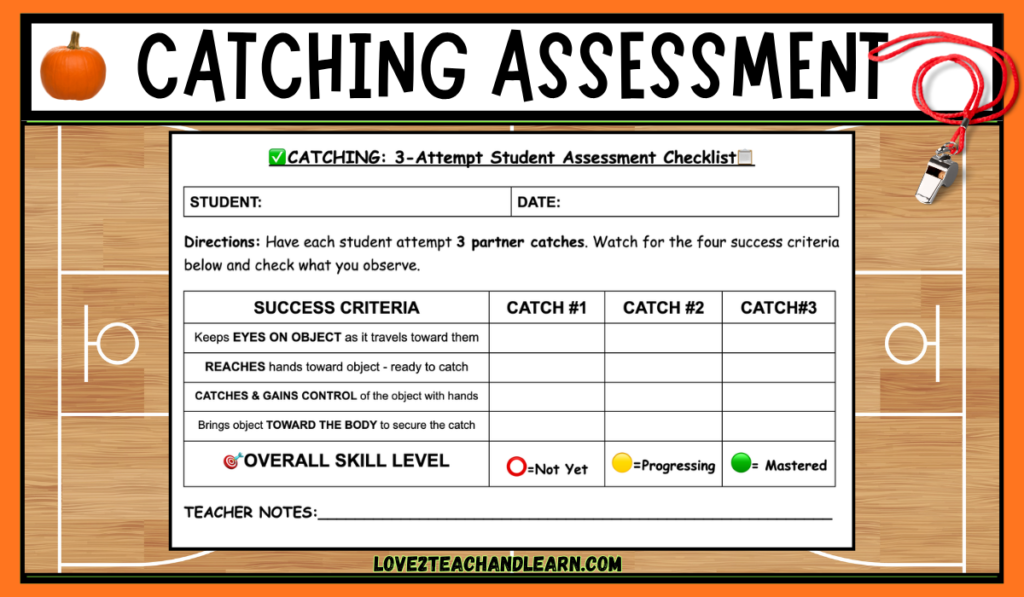
ASSESSMENT – When assessing my students’ catching skills I look for 4 things:
- 👀 LOOK – Keeps eyes on the object as it travels toward them.
- 👐 REACH – Reaches hands toward the object and gets them ready to catch.
- ✋ GRAB – Catches and gains control of the object with their hands.
- ❤️ HUG – Brings the object safely toward the body to secure the catch.
Simply have students attempt three partner catches while you check for each of these four skills. A quick checklist makes it easy to see who has mastered the skill and who could use a little more practice.
TRACKING OBJECTS WITH EYES
In the next section of our October PE Plan we’re going to focus on tracking objects with our eyes, which is actually a PE skill all by itself.
However, tracking doesn’t need to be taught as a stand-alone lesson. Look for opportunities to reinforce it throughout your rolling, throwing, catching, and game-play activities all month long!
HOW TO TEACH IT
QUICK INTRO
CONNECT TO PREVIOUS SKILLS – Explain to your students that they have already been practicing tracking without necessarily realizing it!
Every time they watch a ball travel toward a target or follow it into their hands during a catch, they are using visual tracking.
DEFINE Tracking for your students. The kid-friendly definition that I use to teach tracking to my students is: Using your eyes to follow a moving object from one place to another.
REMIND students that we want to keep watching the object throughout its movement, rather than looking away.
TEACH – Then have students recite the tracking “I CAN” Statement:
- I CAN…use my eyes to track and follow a moving object.
QUICKLY MODEL TRACKING for your students. Demonstrate tracking by slowly moving a ball from side to side, up and down, and through the air while students follow it with their eyes.
CONNECT IT DIRECTLY TO CATCHING: “LOOK at the ball from the moment it leaves your partner’s hands until it reaches your hands.”
That reinforces the LOOK cue from our LOOK – REACH – GRAB – HUG catching sequence that was just learned.
SUCCESS CRITERIA
⭐EXPLAIN SUCCESS CRITERIA – I am successful when I can keep my eyes on a moving object and follow it from start to finish.
STUDENT PRACTICE
Give your students time to practice tracking with a few quick and easy tracking activities. Here are some simple but effective ideas for you.
- 🧣 Scarf Tracking – Toss a scarf and watch it all the way into your hands.
- 🎈 Balloon Tracking – Keep a balloon in the air while following it with your eyes.
- 🥎 Self-Toss & Catch – Watch the ball from release to catch.
- 🤝 Partner Toss & Catch – Track the ball as it travels between partners.
- ⚽ Roll & Track – Follow a rolling ball with your eyes from beginning to end.
REINFORCE TRACKING DURING GAMES – Rather than playing separate “tracking games,” you can simply reinforce tracking during the throwing and catching games your students are already playing.
- Give simple reminders like: “Eyes on the ball!” “Watch it all the way!” and “Follow the ball into your hands!”
ASSESSMENT
ASSESSMENT – A formal assessment probably isn’t necessary for Tracking Objects with Eyes.
Instead, simply observe students during your throwing and catching activities and use a class checklist to mark whether each student has mastered the skill or needs more practice.
THROWING FOR ACCURACY (Underhand)
Now that your students already know how to underhand roll, bowl, underhand throw, catch, and track objects with their eyes, the goal in the next part of our October PE Plan changes from simply sending an object to sending it accurately toward a specific target.
- Your BIG MESSAGE for this skill should be – We already know HOW to throw—now let’s work on WHERE we want it to go!
HOW TO TEACH IT
QUICK INTRO
DEFINE Throwing for accuracy for your students. The kid-friendly definition that I use to teach this is: Using control to throw an object toward a specific target.
TEACH – Then have students recite the throwing accuracy “I CAN” Statement:
- 🎯 I CAN throw an object underhand toward a target with accuracy and control.
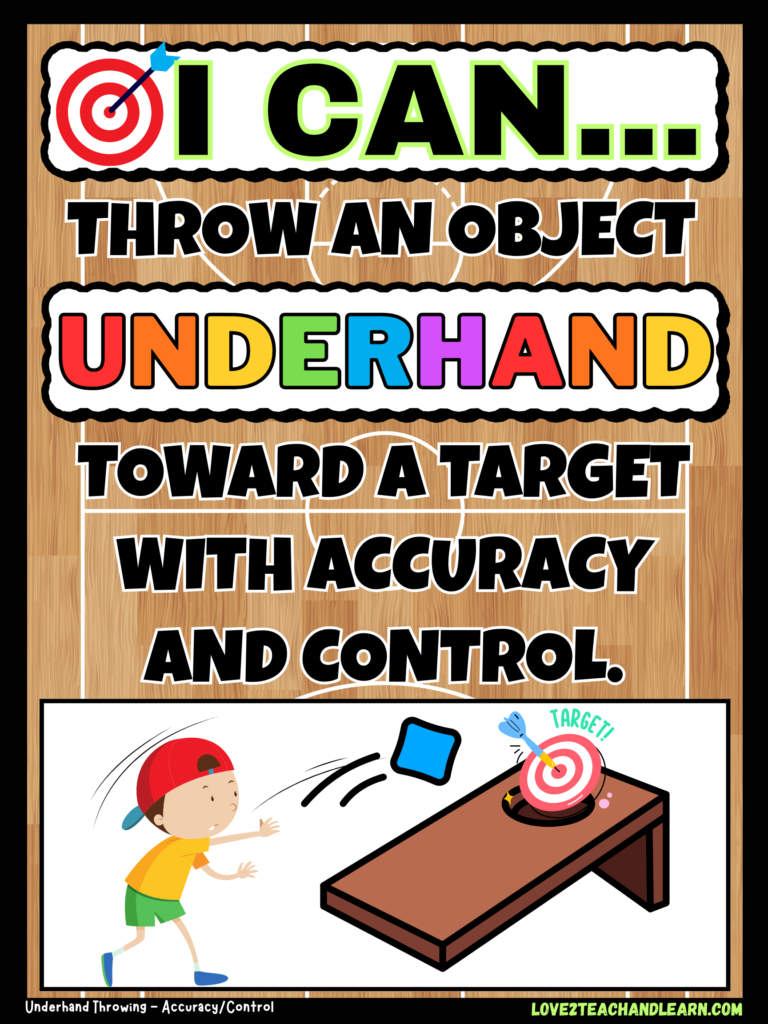
REVIEW (Don’t Reteach) THE THROWING CUES: STEP – SWING – THROW – FOLLOW! But now emphasize EYES ON THE TARGET.
EXPLAIN that students aren’t learning a brand-new throwing motion. They’re using the same proper form, but focusing more closely on their target.
MODEL AIMING and CONTROLLING FORCE – Quickly demonstrate how where we aim and how much force we use can change where the object lands using a beanbag and a large hula hoop.
Stand several feet from the hoop and demonstrate three throws:
- 🐭 Too Little Force — Barely toss the beanbag so it lands well in front of the hoop. “Oops! I needed a little MORE force!”
- 🎯 Just Right — Use a smooth underhand throw so the beanbag lands inside the hoop. “That was JUST RIGHT!”
- 🚀 Too Much Force — Dramatically throw it so it sails past the hoop. “Whoa! I used WAY too much force!”
Then ask students something like, “What do I need to change to get my beanbag to land on my target?”
SUCCESS CRITERIA
⭐EXPLAIN SUCCESS CRITERIA – I am successful when I can keep my eyes on the target, use the right amount of force, and throw the object toward my target with control and accuracy.
STUDENT PRACTICE
Give your students time to practice with a few quick and easy throwing accuracy challenges and activities. Here are some simple and fun ideas for you.
- Beanbags into hoops or Bullseye Bags
- Toss into buckets
- Knock over cones or pins or Lucky Pin
- Throw through a hoop
- Hit wall targets
- Partner target toss or Hot Potato Tag
*You could also let students choose their challenge level by standing at different distances.
DIFFERENTIATE – Simply make throwing for accuracy easier or harder by simply changing the size of the target, distance from the target, or type of object being thrown.
ASSESSMENT
You already assessed your students’ underhand throwing form earlier in the month, so I wouldn’t formally assess all of those mechanics again.
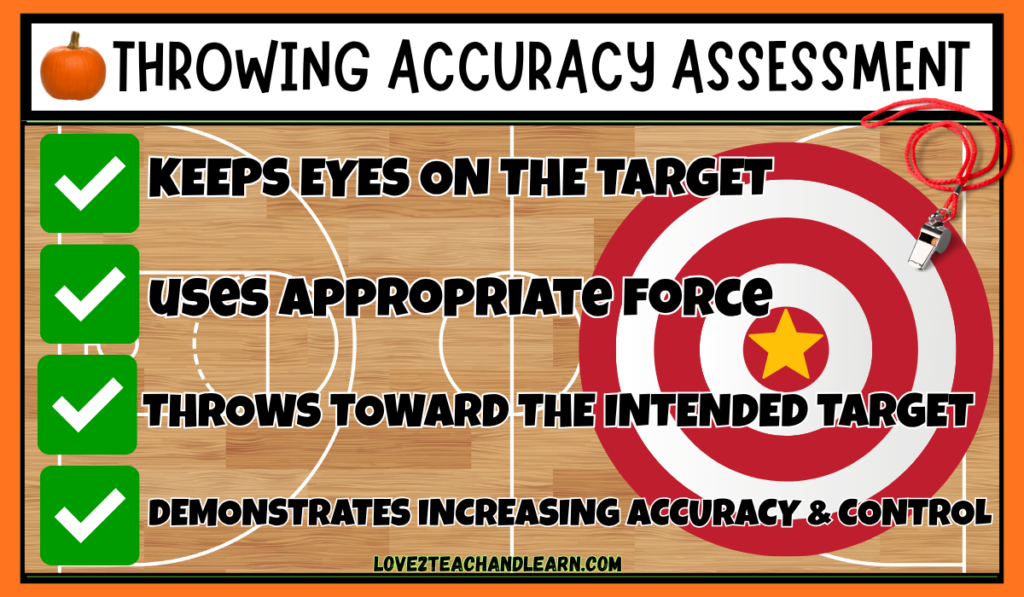
Instead, you could give students 3 throws at a target and simply look for: Keeps EYES ON THE TARGET, Uses APPROPRIATE FORCE, Throws TOWARD THE INTENDED TARGET and Demonstrates INCREASING ACCURACY and CONTROL.
CELEBRATE
CELEBRATE – Yes, I said CELEBRATE! Why? Because you haven’t just taught your students six awesome new skills.
Each one has given them another piece of the October PE Plan puzzle and now they can watch a target, control an object, use proper throwing form, adjust their force, and send an object where they actually want it to go.
GREAT JOB!
And that sets us up perfectly for our final October skill: Partner Cooperation 🤝—where students can put all these physical skills together while learning to work successfully with someone else.
PARTNER COOPERATION
Now that students have built their rolling, throwing, catching, tracking, and accuracy skills, it’s time to put them all together while learning how to be a great PE partner!
HOW TO TEACH IT
QUICK INTRO
EXPLAIN that physical skills are only part of being successful in PE—students also need to learn how to practice, communicate, take turns, and work successfully with others.
DEFINE Partner Cooperation for your students.
The kid-friendly definition that I use to teach this is: Working together, communicating, taking turns, and helping your partner be successful.
TEACH – Then have students recite the partner cooperation “I CAN” Statement:
- I CAN work safely and cooperatively with a partner while practicing PE skills.
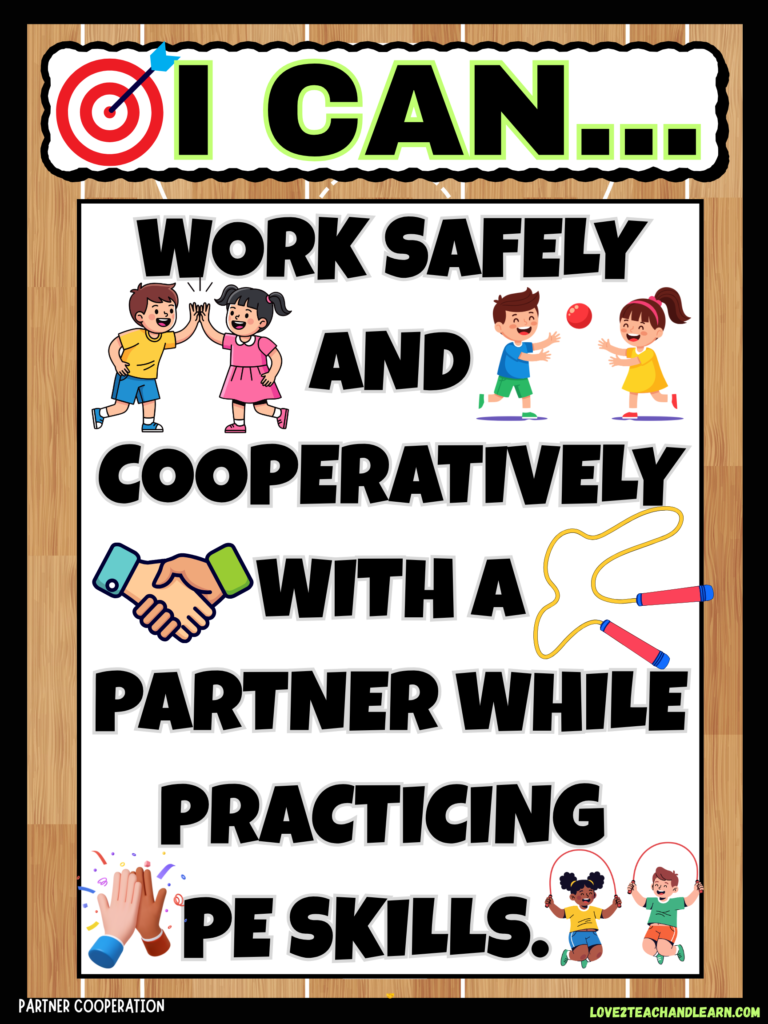
EXPLAIN “What Makes a GREAT PE Partner?” Give students 4–5 very simple expectations:
- 👂 Listen to your partner.
- 🔄 Take turns and share equipment.
- 💬 Communicate using kind words.
- 🙌 Encourage your partner and celebrate their success.
- 🛡️ Practice safely and use control.
MODEL Good AND Not-So-Good Partner Behavior. Demonstrate what a great partner looks like—and then dramatically demonstrate a not-so-great partner who grabs the ball, doesn’t take turns, throws way too hard, and complains when their partner misses.
- Then ask: “Which partner would YOU want to practice with?”
SUCCESS CRITERIA
⭐EXPLAIN SUCCESS CRITERIA – I am successful when I can take turns, share equipment, communicate kindly, encourage my partner, and practice safely while working together.
STUDENT PRACTICE
Now it’s time to put all of our October skills together!
Partner activities give students the perfect opportunity to practice rolling, underhand throwing and catching, tracking the ball, and throwing for accuracy while also learning how to communicate, take turns, encourage one another, and cooperate successfully.
It’s a fun way for students to show off everything they’ve learned while becoming an AWESOME PE partner! ⭐
PRACTICE A FEW FUN AND EASY PARTNER CHALLENGES – Here are a few practice ideas for you:
- Roll & Return — How many controlled rolls can partners complete?
- Toss & Catch Challenge — How many catches can you make in a row?
- Take a Step Back — Make a catch, then both partners take one step farther apart.
- Target Toss — Partners take turns throwing toward the same target.
- Partner Choice Challenge — Let partners choose their favorite October skill to practice together.
ASSESSMENT
ASSESSMENT – A formal assessment probably isn’t necessary for Partner Cooperation—instead, simply observe students during partner activities and look for the following criteria:
- Takes Turns
- Shares Equipment
- Communicates Kindly
- Encourages their Partner
- Practices Safely and Cooperatively
CLASS DISMISSED
And there you have it—October PE is in the books! 🎃 By building each skill on the one before it, students move from rolling and bowling to throwing, catching, tracking, accuracy, and finally putting it all together while working successfully with a partner.
Keep it simple, give kids lots of opportunities to practice, and most importantly—make it FUN!
Here’s to an awesome month of learning, moving, laughing, and making some CRAZY FUN PE memories with your students!
🍁Ready for Your NOVEMBER PE Plan?
Ready to keep the momentum going? Head over to my NOVEMBER PE PLAN for a complete look at the next 6 essential K–5 PE skills, including overhand throwing, throwing for distance, throwing for accuracy, striking with hands, striking with paddles and lead passing—plus tons of teaching tips, activities, games, and assessment ideas along the way!
LET’S CONNECT
If you’re a PE Teacher, I’d love to connect with you. You can find me hanging out in all of these Amazing places.
Mrs. T’s “Always Growing” PE Games Bundle
Hey Friend – Are you a K-5 PE Teacher looking to save MASSIVE time?
With my *HUGE – 450+ Pages* FULL YEAR Elementary PE Resource “ALWAYS GROWING” BUNDLE you will save SO MUCH VALUABLE planning time…
AND… you’ll be prepared for every PE class with creative, unique, and SUPER FUN skill-based games that your PE students will ABSOLUTELY LOVE!
You can check out my GIANT MEGA BUNDLE Right Here!
Oh, and if you want the BIGGEST BANG FOR YOUR BUCK – My OCTOBER PE BUNDLE is already included in my MEGA “Always Growing” Bundle. How Cool is That?
Hey – Thanks so much for stopping by today to check out my OCTOBER PE PLAN.
I really appreciate it and I hope your day is filled with plenty of FUN and FITNESS.
Oh, and remember PE Friends… IF YOU HAD FUN, YOU DEFINITELY WON!