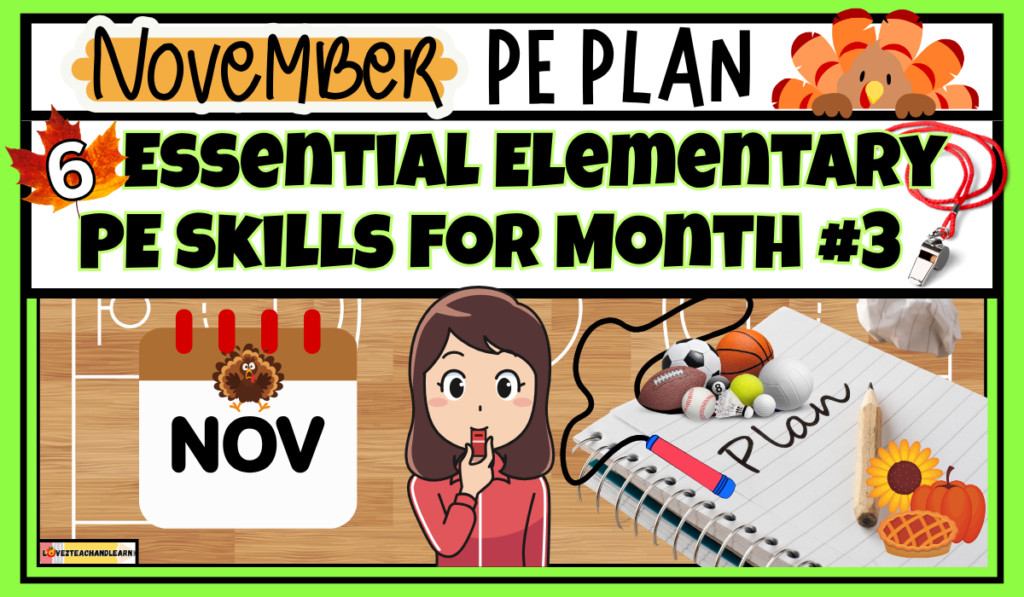
NOVEMBER PE PLAN: 6 Essential Elementary PE Skills for Month #3
November PE Plan – Welcome to Month #3 of our year-long elementary PE plan!
In September, we built a strong foundation with gym rules, routines, locomotor skills, body control, teamwork, and sportsmanship, and in October, we started developing important object-control skills like rolling, underhand throwing, catching, and accuracy.
This month takes the object-control skills we’ve already been developing and moves students into more challenging activities.
NOVEMBER PE PLAN
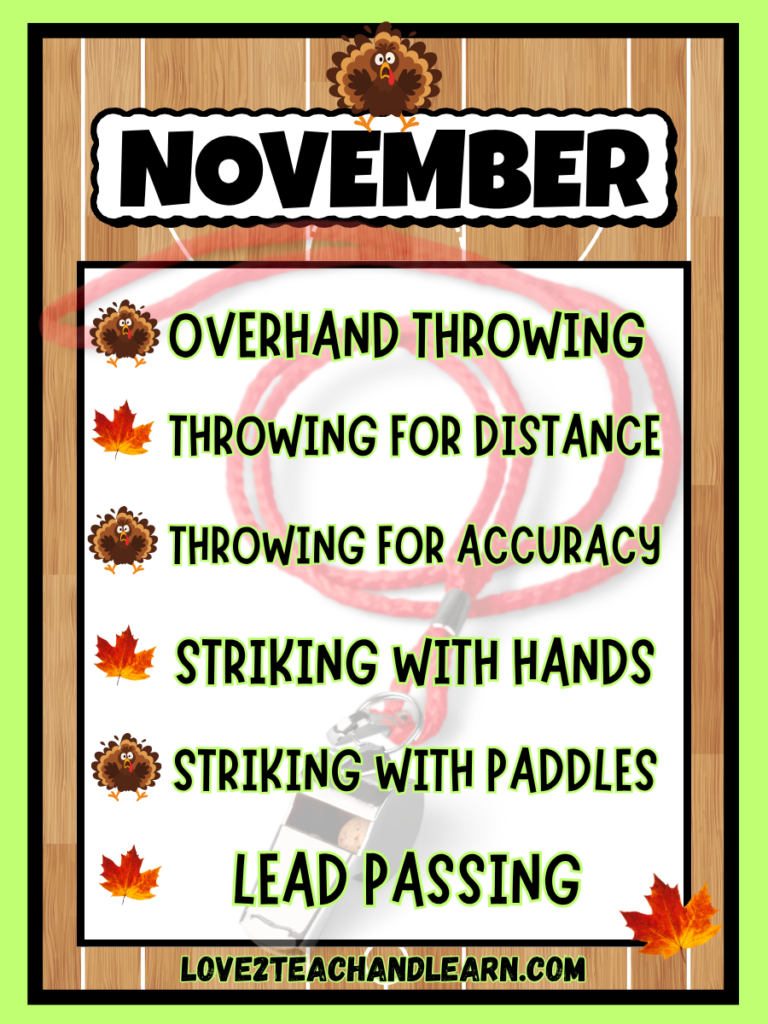
Throughout November, I’ll focus on 6 essential PE skills:
- OVERHAND THROWING
- THROWING FOR DISTANCE
- THROWING FOR ACCURACY
- STRIKING WITH HANDS
- STRIKING WITH PADDLES
- LEAD PASSING
I’ll break down each skill, share simple teaching cues, and give you some of my favorite games, PE Read-Alouds and activities for making skill practice FUN!
And, if you’re just finding this series, be sure to check out my September PE Plan , as well as my October PE Plan because each month builds naturally on the one before it, creating a simple, sequential PE curriculum that keeps students learning, progressing, and having CRAZY FUN all year long!
Want to Save Massive Time with my Complete NOVEMBER PE Lesson Plan BUNDLE?
YOU GOT IT! You can Snag the Complete Month #3 November Bundle RIGHT HERE!

Hi there, it’s so great to meet you! I’m Mrs. T. (or you can call me Jen) – a Michigan mom, wife, new grandma (aka “Jemma”) K-12 PE teacher, blogger (Love 2 Teach and Learn) and author of 59 CRAZY FUN Elementary PE Games that ROCK!
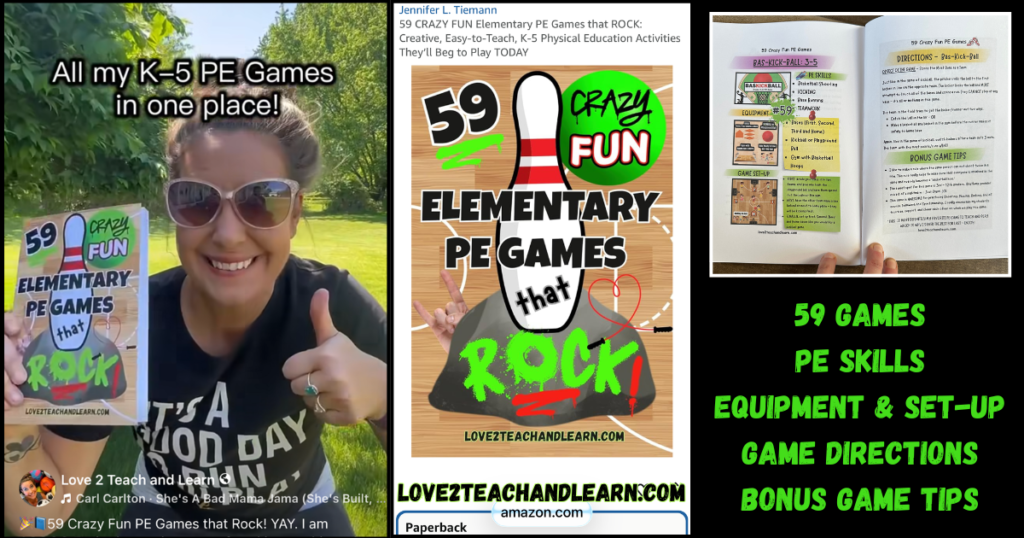
I love teaching PE class because I get to spend time telling Silly SPORTS JOKES and exercising, while laughing with my students.
I’m also on a serious mission to MAKE SCHOOL FUN AGAIN and I believe physical education class is the ABSOLUTE BEST WAY to do just that!
READY! SET! LET’S MAKE SCHOOL FUN AGAIN!
OVERHAND THROWING
OVERHAND THROWING is one of the most important foundational object-control skills students learn in PE because it carries over into so many sports, games, and everyday activities.
After building our throwing foundation with underhand throwing in October, November is the perfect time to introduce proper overhand throwing form and help students develop more power, control, and accuracy.
HOW TO TEACH IT
QUICK INTRO
DEFINE and EXPLAIN what overhand throwing actually is. The kid-friendly definition that I use to teach overhand throwing to my students is:
- Throwing a ball or object over your shoulder and through the air toward a target or person.
MAKE A REAL-WORLD CONNECTION – Ask your students: “What sports or games can you think of where you might use an OVERHAND THROW?”
- Give students a chance to brainstorm and share their ideas before discussing examples like baseball, softball, football, dodgeball, handball, cricket, water polo, and track & field events like the javelin throw.
- Remind students that learning a strong overhand throwing pattern in PE gives them a foundational skill they can use in LOTS of different sports, games, and activities!
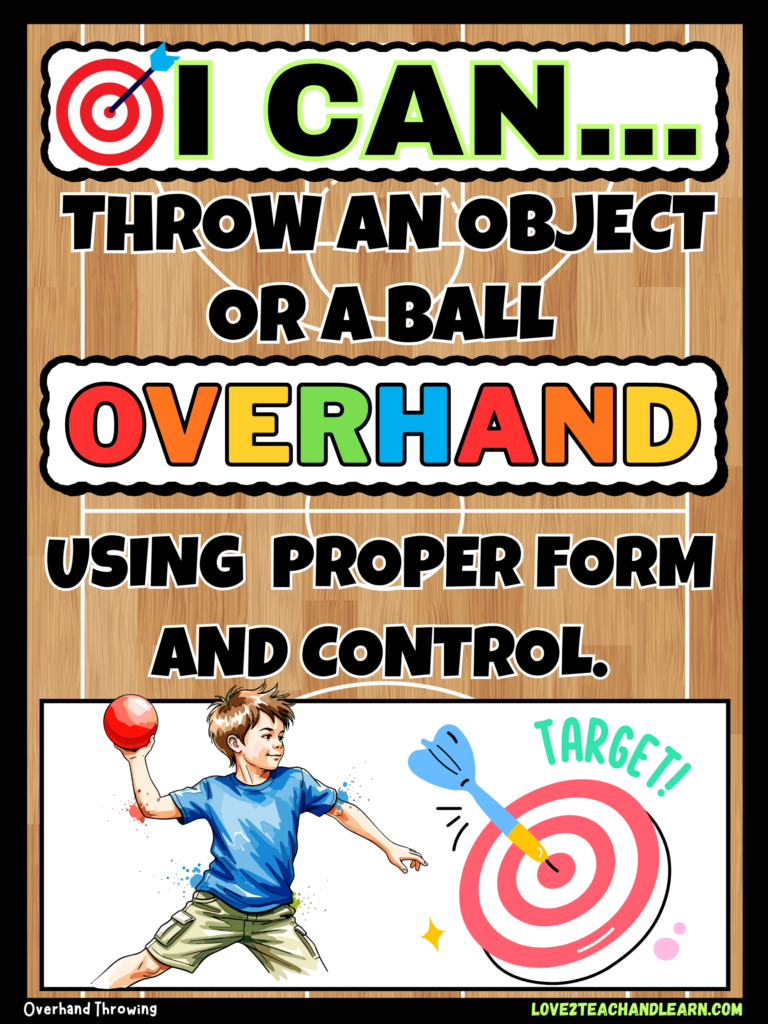
RECITE – Then have students recite the overhand throwing “I CAN” Statement:
- I CAN… THROW AN OBJECT OR A BALL OVERHAND USING PROPER FORM AND CONTROL.
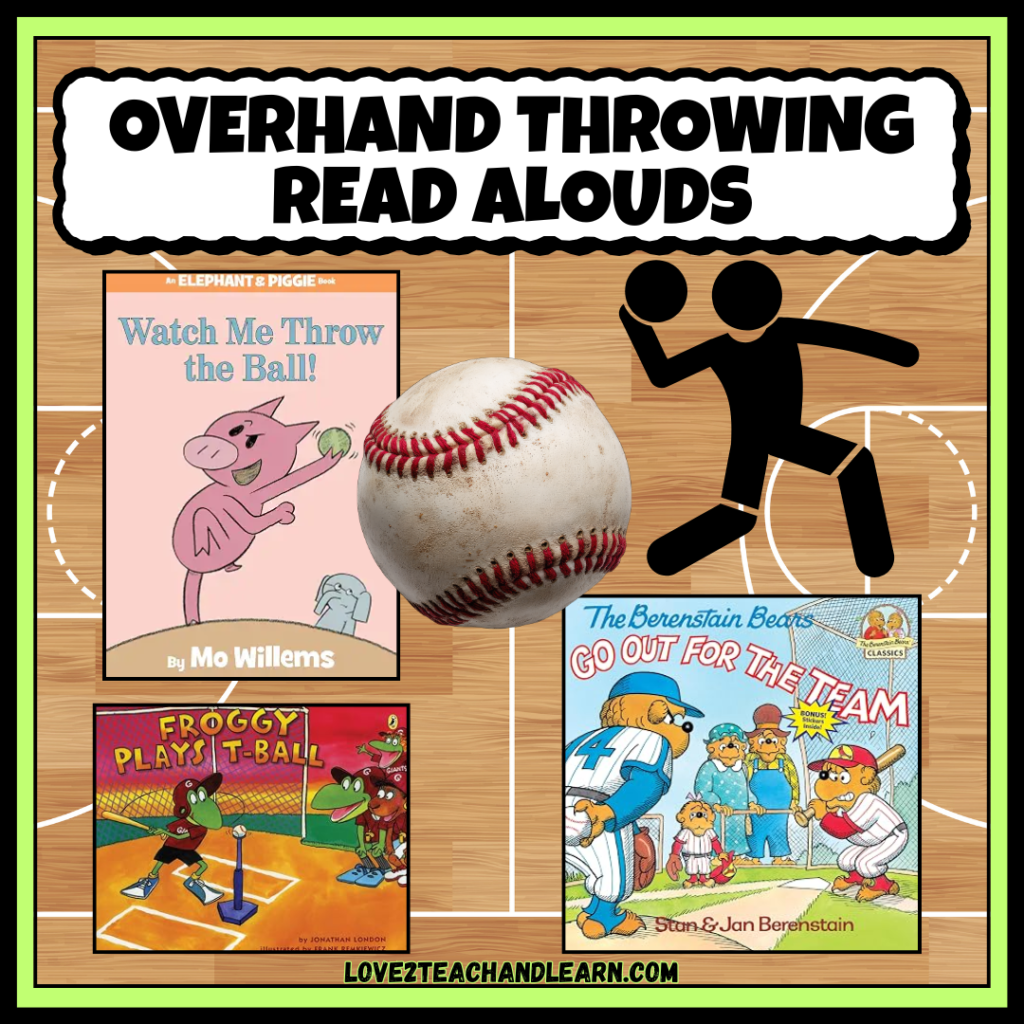
READ ALOUD THE BOOK: The Berenstain Bears Go Out for the Team by Stan and Jan Berenstain – This book works best with K-3 PE students and is the perfect lead up to a discussion about and introduction to your overhand throwing unit since baseball provides a natural connection to overhand throwing, catching, practice, and developing confidence in physical skills.
- I prefer to read aloud the physical book to my students, however, you can watch and listen to the story on YouTube RIGHT HERE.
Watch Me Throw the Ball! by Mo Willems and Froggy Plays T-Ball by Jonathan London are fun, short read-alouds that also work really well when introducing your overhand throwing unit to your elementary physical education students.
MODEL the skill of overhand throwing for your students. This helps students see exactly what a good overhand throw looks like.
- Be sure to demonstrate turning your side toward the target, bringing your throwing arm up and back to MAKE AN L, STEPPING with the opposite foot, THROWING the ball up and over your shoulder, and FOLLOWING through across your body toward the target.
CUE WORDS & SUCCESS CRITERIA
TEACH CUE WORDS – The simple cue words SIDE – MAKE AN L – STEP – THROW – FOLLOW give students an easy way to remember the steps of a great overhand throw.
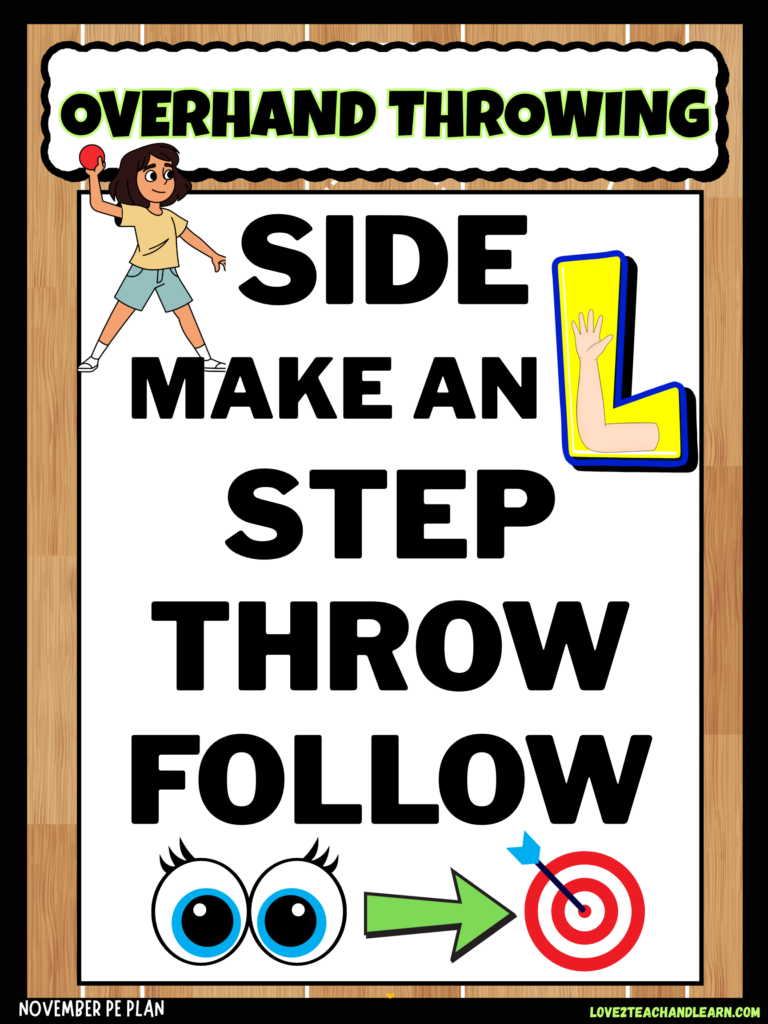
⭐EXPLAIN SUCCESS CRITERIA – I am successful when I turn SIDEWAYS, MAKE AN L with my throwing arm, STEP with my opposite foot, THROW over my shoulder, and FOLLOW THROUGH toward my target.
- When explaining the success criteria, it can also be helpful to have students visualize or picture themselves doing the skill correctly and then practice the “SIDE – MAKE AN L – STEP – THROW – FOLLOW” motion without a ball or equipment before giving it a try!
STUDENT PRACTICE
PRACTICE – I like to give students plenty of time to practice and progress from no equipment → individual throwing → partner throwing → targets → movement/games, so students build proper form before worrying about power or accuracy.
Here are several overhand throwing student practice ideas for you:
- SHADOW THROWS – Students practice the entire motion without a ball while saying SIDE – MAKE AN L – STEP – THROW – FOLLOW. This is a great first step for focusing completely on form.
- WALL THROWS – Give each student a soft foam ball and have them practice overhand throwing toward a wall from a short distance. Encourage proper form rather than how hard they can throw.
- PARTNER TOSS – Partners stand a short distance apart and practice overhand throwing and catching. Once they are successful, have each partner take one step backward to increase the distance.
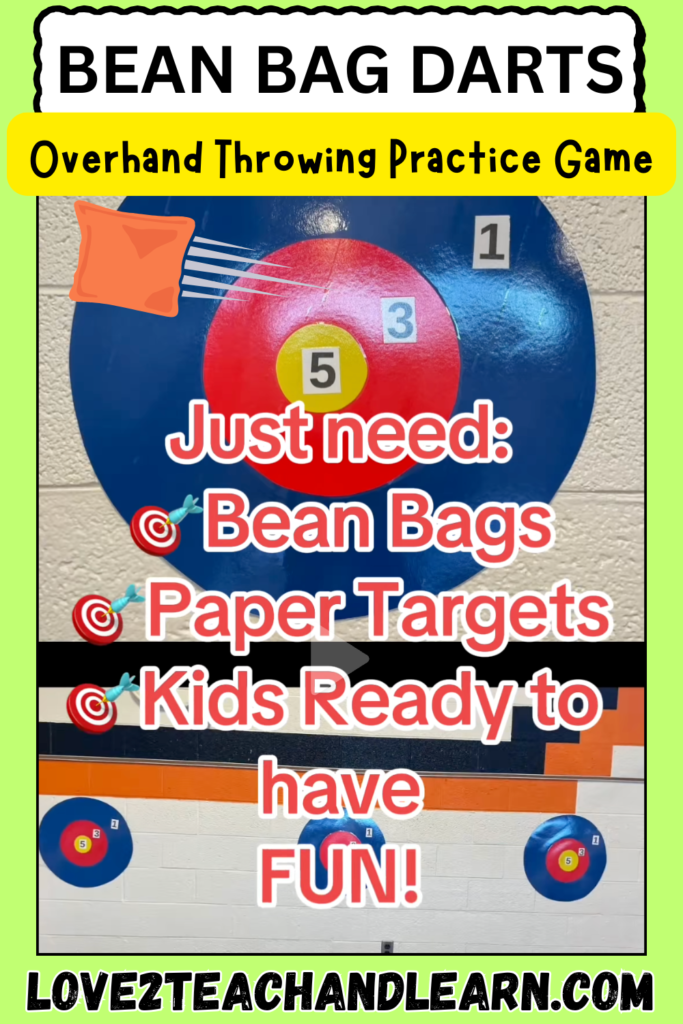
- BIG TARGETS – Add large, easy-to-hit targets such as mats, hula hoops, large cones, boxes, or wall targets. This begins connecting proper throwing form with accuracy. I play this really fun overhand throwing practice game called BEAN BAG DARTS with my students. You can check it out RIGHT HERE.
- KNOCK IT DOWN – Set up bowling pins, foam blocks, cones, or empty buckets and challenge students to knock them over using an overhand throw.
- THROWING ZONES – Create different distance zones with cones or floor lines. Students practice throwing into the near, middle, and far zones, learning how to adjust their force.
DIFFERENTIATE – Keep in mind that you may need to differentiate your instruction for upper and lower elementary.
- K–2: Keep it BIG, CLOSE, SOFT, and SIMPLE! Use larger lightweight foam balls, short throwing distances, and big targets so students experience lots of success. Focus primarily on learning the basic SIDE – MAKE AN L – STEP – THROW – FOLLOW pattern rather than throwing hard or hitting small targets.
- 3–5: Increase the challenge with smaller balls, longer throwing distances, and smaller or more varied targets. Once students demonstrate proper form, have them adjust their force, distance, and accuracy, throw to partners, and eventually use their overhand throw in more challenging game situations.
FAVORITE GAMES/PE ACTIVITIES
PLAY FUN OVERHAND THROWING PRACTICE GAMES – Now that students have learned the basic cue words and fundamentals of overhand throwing, it’s time to put those skills into action with some super FUN PE games that give them plenty of opportunities to practice, improve, and build confidence!
My five favorite overhand throwing games are:
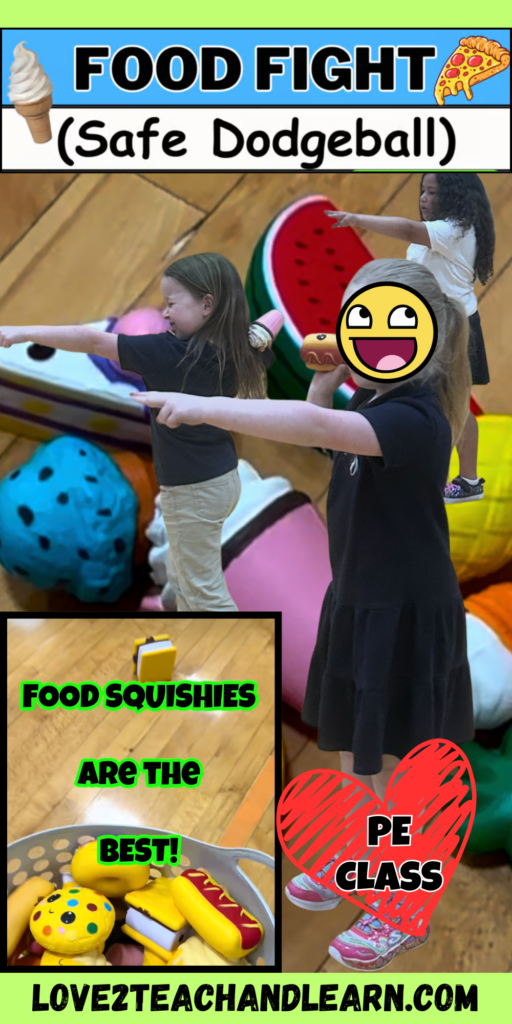
- FOOD FIGHT – This is my absolute favorite overhand throwing (safe dodgeball) PE game and I am certain that your students will love it sooooooo much. It’s also a great “catching” and “teamwork” game too. Get all of the “How to Play” game details RIGHT HERE or you can watch a quick video tutorial RIGHT HERE. It’s also Game # 18 in my 59 CRAZY FUN PE Games book.
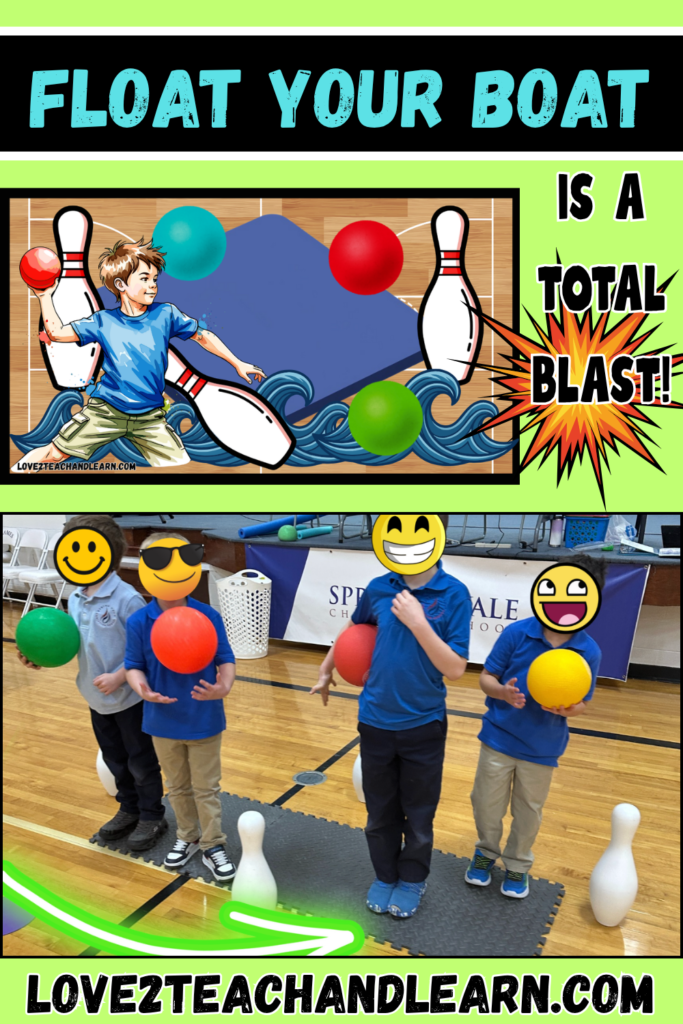
- FLOAT YOUR BOAT – This overhand throwing game is a TOTAL BLAST and it incorporates underhand rolling, locomotor skills and strategic thinking too. Get all of the “How to Play” game details RIGHT HERE, as well as a quick video tutorial for you, or a longer game explanation video if you prefer. It is also Game #26 in my 59 CRAZY FUN PE Games book.
- SNOWBALL ATTACK – Students will have a blast attempting to evade safe “snowballs” being thrown overhand across the gym by the SNOWBALL KING or QUEEN. Get all the “How to Play” game details RIGHT HERE. It is Game #28 in my CRAZY FUN PE Games book.
- CROSS THE RIVER – I seriously love everything about this game. Not only does it help kids practice their overhand throwing skills but it doubles as an awesome ice breaker “get to know me” activity too. Get all the “How to Play” game details RIGHT HERE. Here’s a short explanation and tutorial video for you. Cross the River is Game #36 in my PE Games book.
- SNOWBALL ISLAND – OMG! This one is a definite MUST-PLAY overhand throwing practice PE Game. I made this game up several years ago and it has evolved into such an incredibly fun physical education game that can be played by students of all ages. Get all the “How to Play” game details RIGHT HERE, as well as a quick video explanation and tutorial for you.
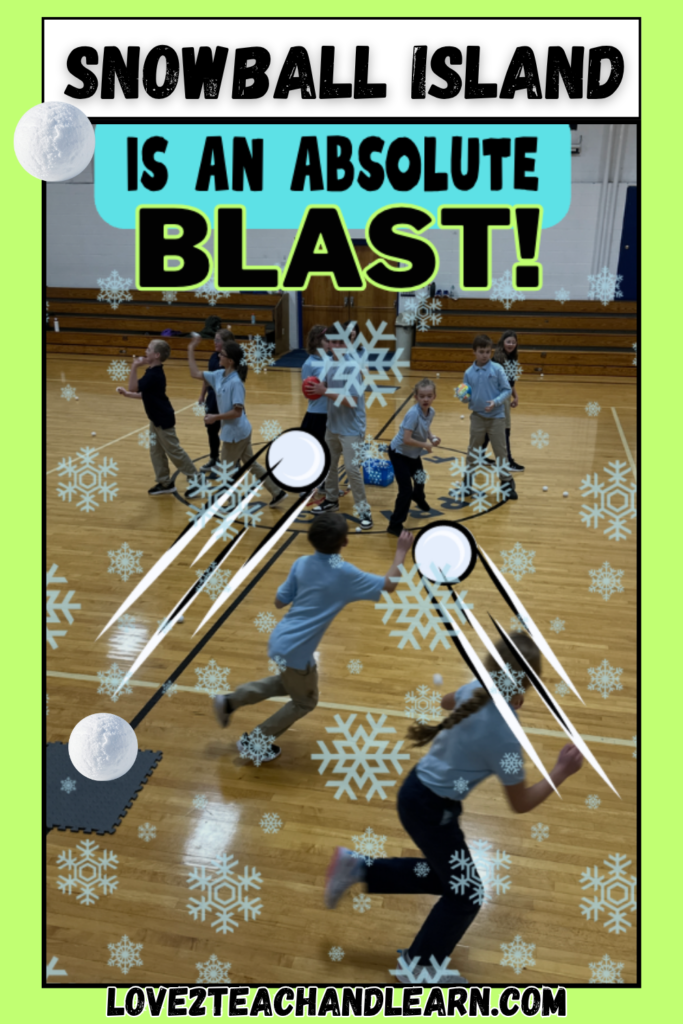
*Food Fight, Float Your Boat, Cross the River, Snowball Attack and Snowball Island are five of my all-time favorite overhand throwing PE games because they give students tons of fun practice while perfectly preparing them for our next November skill—Throwing for DISTANCE!
ASSESSMENT
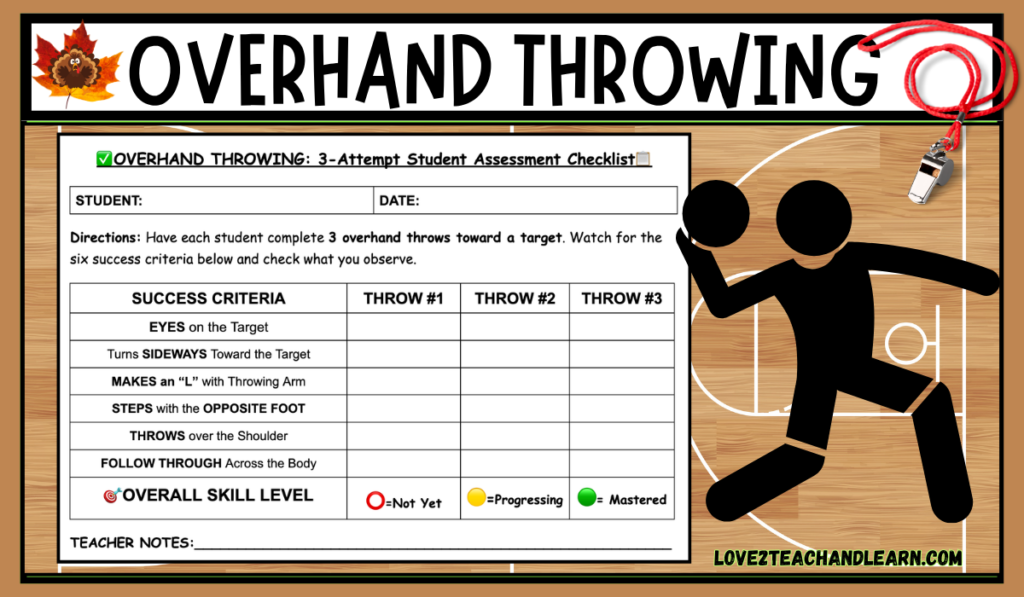
ASSESSMENT – When assessing my students’ overhand throwing skills I use a 3-Attempt System and look for six key criteria that primarily focuses on form. Here’s an easy way to assess your students:
- Simply give each student three overhand throws toward a target and watch for six simple things—EYES on target, Turns SIDEWAYS toward the target, MAKES AN “L” with throwing arm, STEPS with OPPOSITE FOOT, THROWS over the shoulder and FOLLOWS THROUGH across the body.
A quick checklist makes it easy to see who has mastered the skill and who could use a little more practice.
OVERHAND THROWING FOR DISTANCE
After learning proper overhand throwing form, students are ready to take that skill one step further by learning how to throw for distance!
Throwing for distance teaches students how to use their entire body, proper technique, and the right amount of force to send an object farther while still maintaining control.
HOW TO TEACH IT
QUICK INTRO
DEFINE and EXPLAIN a kid-friendly definition for “Throwing with Distance.” I like to use the following: Using your whole body and proper throwing form to send an object as far as you can with control.
- I like including “with control” because you don’t want kids interpreting distance throwing as simply CHUCK IT AS HARD AS POSSIBLE!
MAKE A REAL-WORLD CONNECTION – Explain to your students that throwing for distance is an important skill used in many sports and activities, including football, baseball, softball, cricket, javelin, and discus, where being able to send an object farther with power and proper technique can help you be successful.
RECITE – Then have students recite the overhand throwing for distance “I CAN” Statement:
- I CAN… USE PROPER THROWING FORM AND MY WHOLE BODY TO THROW AN OBJECT FARTHER.
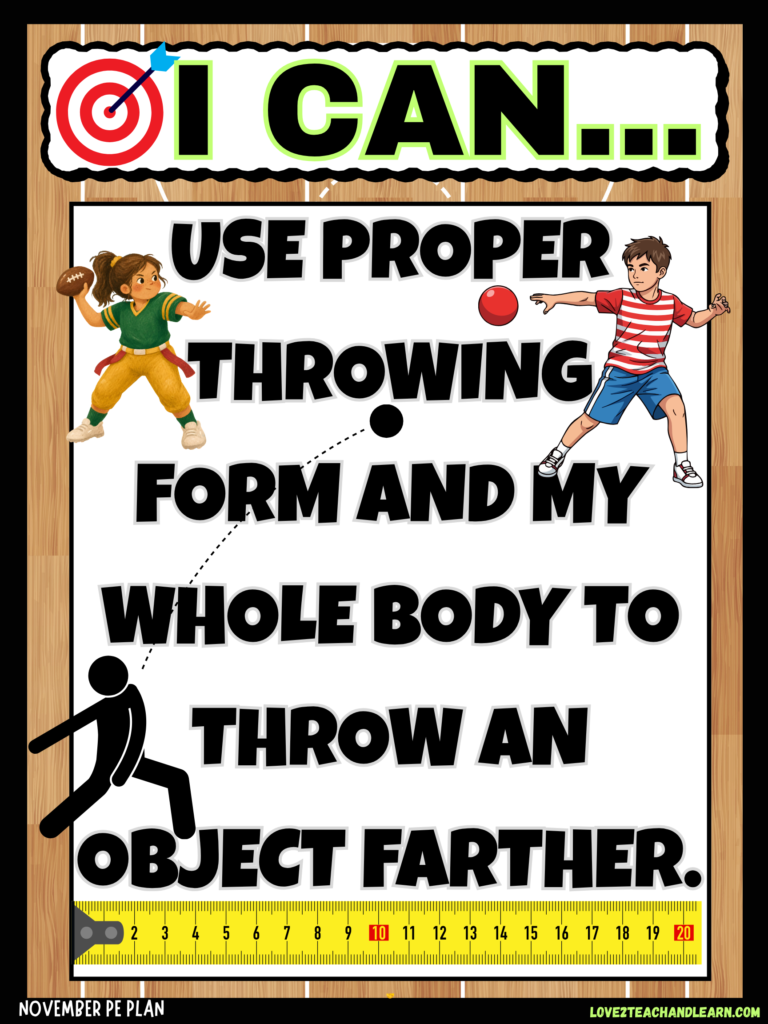
EXPLAIN THE BIG DIFFERENCE – FORCE (MORE DISTANCE = MORE FORCE)
- Remind students that the amount of force they use affects how far an object will travel—MORE DISTANCE = MORE FORCE! But throwing farther doesn’t mean simply throwing harder with your arm; powerful throws come from using your WHOLE BODY, including your legs, hips, shoulders, throwing arm, and follow-through.
- Encourage students to put all of these movements together to create more force while still maintaining proper throwing form.
- A simple reminder to repeat throughout the lesson is: “Don’t just use your ARM—use your WHOLE BODY!”
MODEL THROWING FOR DISTANCE for your students.
First, model a regular overhand throw using the cues students already know: SIDE – MAKE AN L – STEP – THROW – FOLLOW
Then demonstrate a distance throw while exaggerating how your whole body works together.
You could model two throws:
- Throw #1: Mostly use your arm with very little step or follow-through.
- Throw #2: Turn sideways, make an L, take a strong opposite-foot step, rotate your body, throw, and fully follow through.
THEN Ask: “Which throw do you think will travel farther? WHY?”
This turns your demonstration into a quick discovery activity.
CUE WORDS & SUCCESS CRITERIA
TEACH CUE WORDS – Since throwing for distance is built directly on overhand throwing we’ll keep the same easy cue words students already know: SIDE – MAKE AN L – STEP – THROW – FOLLOW and then just add one special distance reminder:
USE YOUR WHOLE BODY!
⭐EXPLAIN SUCCESS CRITERIA – I am successful when I turn SIDEWAYS, MAKE AN L, STEP with my opposite foot, THROW using my whole body, and FOLLOW THROUGH to send the object far.
STUDENT PRACTICE
Just like Overhand Throwing, start simple and gradually increase the challenge. Here are several fun practice activities for you to try:
- SHADOW DISTANCE THROWS – Students practice the throwing motion without equipment. Have them exaggerate their STEP and FOLLOW THROUGH while pretending they’re throwing something REALLY far.
- THROW PAST THE LINE – Place a jump rope across the gym and challenge students to use proper form to throw beyond it.
- DISTANCE ZONES – Create several zones across the gym using cones, floor tape, or poly spots: ZONE 1 → ZONE 2 → ZONE 3 → ZONE 4 – Then students throw and see which zone their object lands in.
- MOVE THE MARKER – Give students a cone or poly spot to mark where their throw lands. On the next attempt, can they throw beyond their previous marker?
- DIFFERENT OBJECTS CHALLENGE – Have students throw different safe objects and compare how they travel—foam balls, yarn balls, beanbags, etc. Ask: “Does every object travel the same distance?” This naturally introduces conversations about size, weight, shape, and force.
FAVORITE GAMES/PE ACTIVITIES
PLAY FUN THROWING FOR DISTANCE PRACTICE PE GAMES – Now it’s time to play a few games and have some serious fun overhand throwing for distance. My favorite PE games for practicing this skill include:
- 👟THE GREAT SHOE LAUNCH – Have each student take off ONE shoe and stand behind a designated throwing line. On your signal, students use an overhand throwing motion to launch their shoe as far as they can into the “Shoe Fly Zone!” Mark 3–4 colorful distance zones across the gym with cones or floor tape, and have students see which zone their shoe lands in. Get silly and name each shoe zone the following: 👟 TOE ZONE → 🧦 STINKY ZONE → 💨 FLYING FOOT ZONE → 🚀 SHOE-PERSONIC ZONE! Give everyone three attempts, challenging them to improve their own distance each time while practicing: SIDE – MAKE AN L – STEP – THROW – FOLLOW!
- 🏴☠️ TREASURE TOSS — Scatter plastic gold coins in three distance zones across the gym. Students overhand throw a beanbag or soft ball, and the zone where it lands determines how much “treasure” they earn—1 coin, 2 coins, or 3 coins. Students return their treasure to their team’s bucket and keep throwing to see how much treasure their team can collect before time runs out.
- 🚀BLAST OFF – Turn your gym into the SOLAR SYSTEM! Have students stand behind a designated “launch line” near the SUN and use an overhand throw to BLAST their foam ball or beanbag rocket as far into outer space as possible. Create distance zones using the planets in order from the Sun: MERCURY → VENUS → EARTH → MARS → JUPITER → SATURN → URANUS → NEPTUNE. After each throw, students identify which planet their rocket reached and try to travel even farther on their next attempt using SIDE – MAKE AN L – STEP – THROW – FOLLOW and plenty of whole-body force! BONUS LEARNING: Before each round, have the entire class recite the planets in order as they point across the gym: Mercury, Venus, Earth, Mars, Jupiter, Saturn, Uranus, Neptune!
- 🦃 TURKEY LAUNCH — Perfect for November! Set up several distance lines or zones and give students rubber turkeys, or squeaky rubber chickens you call “turkeys.” Students try to “help their turkey fly south for the winter” by using an overhand throw to send it as far down the gym as possible; after three attempts, see if they can get their turkey to travel farther each time.
ASSESSMENT
ASSESSMENT – 3-THROW DISTANCE CHALLENGE: Keep the assessment simple and give each student 3 overhand throwing attempts from the same starting line and challenge them to improve their own throwing distance with each attempt.
Use cones or colored zones to easily mark how far each throw travels, and encourage students to use proper overhand throwing form and their WHOLE BODY to create more force.
The goal isn’t to throw farther than their classmates—it’s to improve their own distance from Throw #1 to Throw #3!
THROWING FOR ACCURACY (Overhand)
Now that students have learned proper overhand throwing form and how to adjust their force to throw for distance, it’s time to add another important piece—ACCURACY!
Throwing for accuracy teaches students how to combine proper form, aim, and force control to send an object exactly where they want it to go, a skill they’ll use in countless sports, games, and PE activities.
HOW TO TEACH IT
QUICK INTRO
DEFINE Overhand Throwing for Accuracy for your students. The kid-friendly definition that I use to teach this is: Using an overhand throw to send an object toward a specific target with control and aim.
TEACH – Then have students recite the throwing accuracy “I CAN” Statement:
- I CAN throw an object OVERHAND toward a target with accuracy and control.
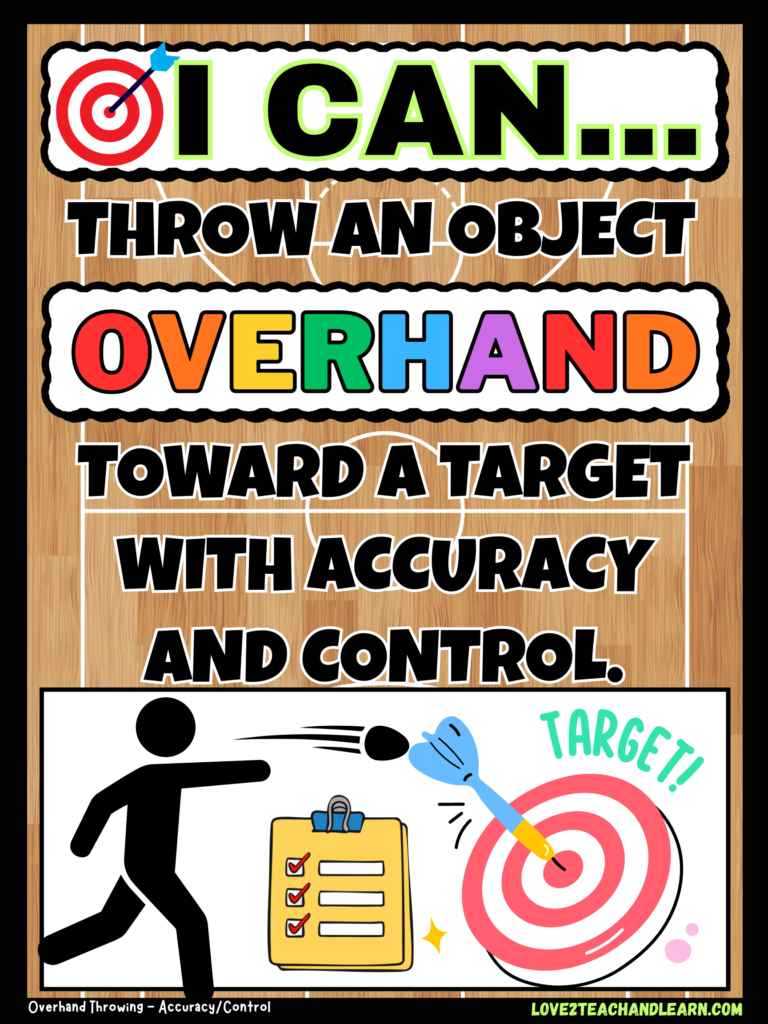
REVIEW (Don’t Reteach) THE THROWING CUES: SIDE – MAKE AN L – STEP – THROW – FOLLOW! But now emphasize EYES ON THE TARGET.
EXPLAIN that students aren’t learning a brand-new throwing motion. They’re using the same proper form, but focusing more closely on their target.
SUCCESS CRITERIA
⭐EXPLAIN SUCCESS CRITERIA – I am successful when I can step toward my target, throw overhand, and aim with accuracy and control.
STUDENT PRACTICE
Give your students time to practice with a few quick and easy throwing accuracy challenges and activities. Here are some simple and fun ideas for you.
- 🔢 Number Knockout – Label cones, pins, or wall targets with numbers. Call out a number and have students use an accurate overhand throw to hit the matching target.
- 🌎Around the World – Set up 4–6 throwing spots around one large and sturdy target (tall cone or bin) target. Students move from spot to spot and try to hit the target with an accurate overhand throw from different distances and angles.
- 🎯 Hoop Bullseye – Hang or prop up hula hoops at different heights and distances. Students overhand throw a foam ball through the hoop, focusing on stepping toward the target and following through.
- 🏰 Castle Crash – Build small “castles” using foam blocks, solo cups or Jumbo Cups. Students stand behind a throwing line and use accurate overhand throws to crash the castle.
FAVORITE GAMES/PE ACTIVITIES
PLAY FUN OVERHAND THROWING PRACTICE GAMES – My two favorite overhand throwing (for accuracy) games are:
- SUPER FOWLING – This awesome overhand throwing accuracy activity mixes football throwing and bowling into one incredibly fun team PE game. Get all of the “How to Play” game details RIGHT HERE. It is also Game #52 in my 59 CRAZY FUN PE Games book.
- QUARTERBACKS and CHEERLEADERS TAG – This “overhand throwing for accuracy” game is so much fun. Get all of the “How to Play” game details RIGHT HERE.
ASSESSMENT
ASSESSMENT – 3-THROW ACCURACY CHALLENGE: Again, keep the assessment very simple. Give each student 3 overhand throwing attempts at a large target from the same starting spot.
After each throw, encourage students to think about where their throw went and adjust their aim and force on the next attempt.
The goal is to use proper overhand throwing form and get closer to—or hit—the target with each throw!
CELEBRATE
Now it’s time to CELEBRATE – your students have worked hard to learn proper overhand throwing form and then build on that foundation by learning how to adjust their force for distance and their aim and control for accuracy.
Take a few minutes to celebrate their progress with a fun throwing challenge, favorite PE game, or class cheer—it’s a great way to recognize how much they’ve learned while building confidence and excitement for the next skill!
STRIKING WITH HANDS
Now that students have built a strong foundation with throwing, force, accuracy, and tracking objects with their eyes, it’s time to introduce the next important object-control skill in our November PE Plan—STRIKING WITH HANDS!
Striking builds on many of those same skills as students learn to track a moving object, control their force, make successful contact, and send the object in a desired direction.
It’s also the perfect first step toward striking with paddles and many future sports and activities!
HOW TO TEACH IT
QUICK INTRO
DEFINE and EXPLAIN what striking with hands actually is. The kid-friendly definition that I use to introduce and teach striking (with hands) to my students is:
- Using your hand to hit an object and send it in a desired direction.
MAKE A REAL-WORLD CONNECTION – Ask your students: “What sports or games can you think of where you use your HANDS to strike or hit an object?”
- Give students time to brainstorm examples such as volleyball, handball, four square, tetherball, and spikeball. Explain that learning how to track an object, make good contact, and control the force and direction of a strike gives them skills they can use in LOTS of sports, games, and activities!
RECITE – Then have students recite the striking with hands “I CAN” Statement:
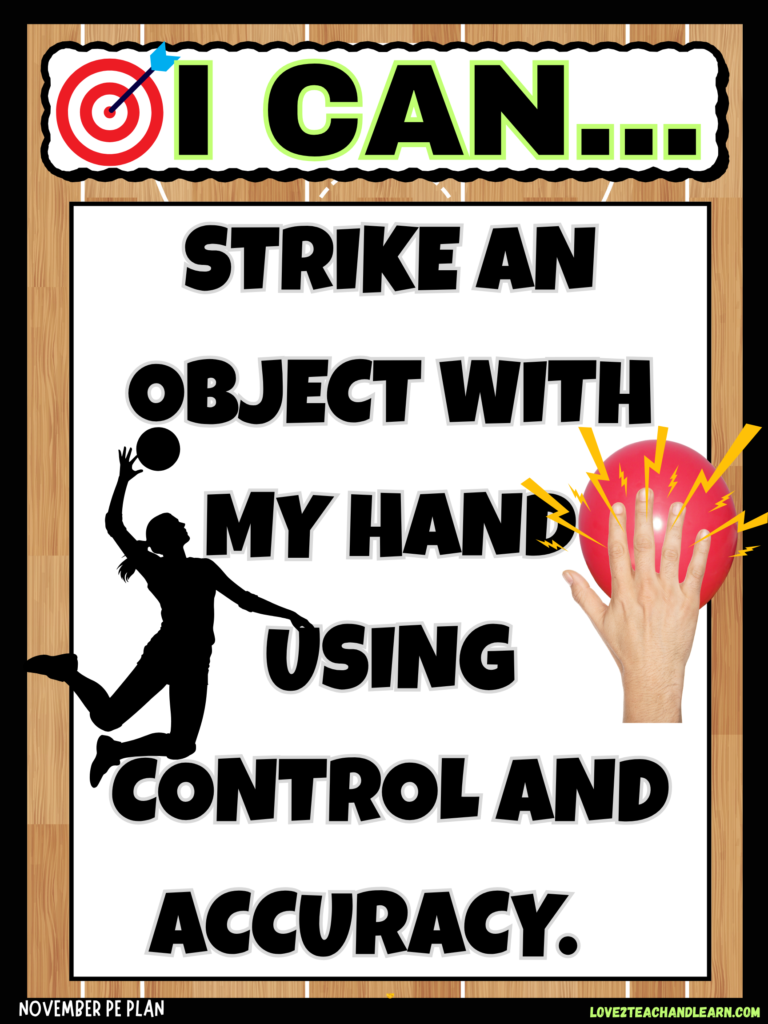
- I CAN… STRIKE AN OBJECT WITH MY HAND USING CONTROL AND ACCURACY.
READ ALOUD THE BOOK: Spike It, Mo! byDavid Adler – This book works best with K-3 PE students and is a fun introduction to your striking unit. Mo and his dad join a beach volleyball game, where Mo learns about serving, setting, and spiking the ball. It connects beautifully to striking with hands, tracking objects, hand-eye coordination, and teamwork.
- I prefer to read aloud the physical book to my students, however, you can also watch and listen to the story on YouTube RIGHT HERE.
MODEL the skill of “striking with your hands” for your students.
- MODEL striking with hands using a balloon or lightweight beach ball. Toss the balloon slightly into the air, keep your EYES on the balloon, move your body underneath it, reach your hand toward the balloon, STRIKE it with a flat/open hand, and FOLLOW THROUGH in the direction you want it to travel. Demonstrate several strikes so students can see how changing the amount of force and the direction of your hand changes where the balloon goes.
CUE WORDS & SUCCESS CRITERIA
TEACH CUE WORDS – The simple cue words LOOK – MOVE – STRIKE – FOLLOW give students an easy way to remember how to successfully strike an object with their hands.
- 👀 LOOK – Keep your eyes on the object.
- 👟 MOVE – Move your body into position.
- ✋ STRIKE – Make contact with an open/flat hand.
- ➡️ FOLLOW – Follow through toward where you want the object to go.
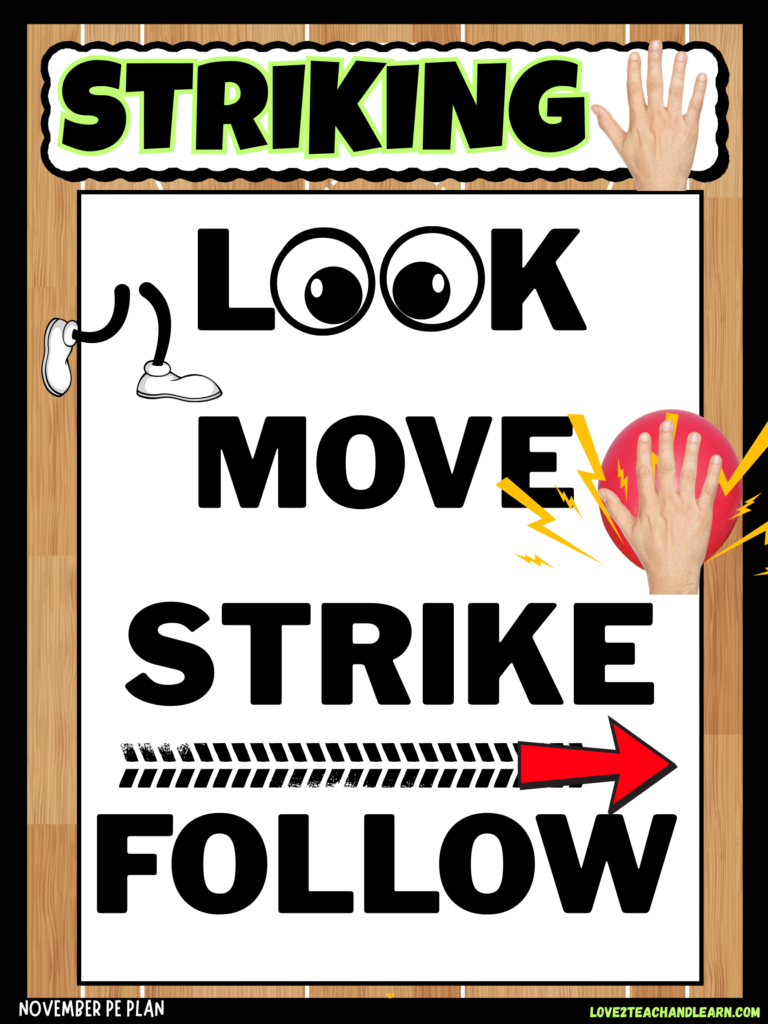
⭐EXPLAIN SUCCESS CRITERIA – I am successful when I LOOK at the object, MOVE into position, STRIKE it with my hand, and FOLLOW THROUGH in the direction I want it to go.
- When explaining the success criteria, it can also be helpful to have students visualize or picture themselves doing the skill correctly and then practice the “LOOK – MOVE – STRIKE – FOLLOW” motion without any equipment before giving it a try!
STUDENT PRACTICE
PRACTICE – I like to give students plenty of time to practice and progress from balloon → beach ball → lightweight ball → partner, gradually making the skill more challenging as students gain control.
Start students with a balloon and have them practice striking it upward with an open hand while keeping their eyes on it.
Once successful, challenge them to complete 5–10 strikes in a row, alternate right and left hands, and strike the balloon in different directions.
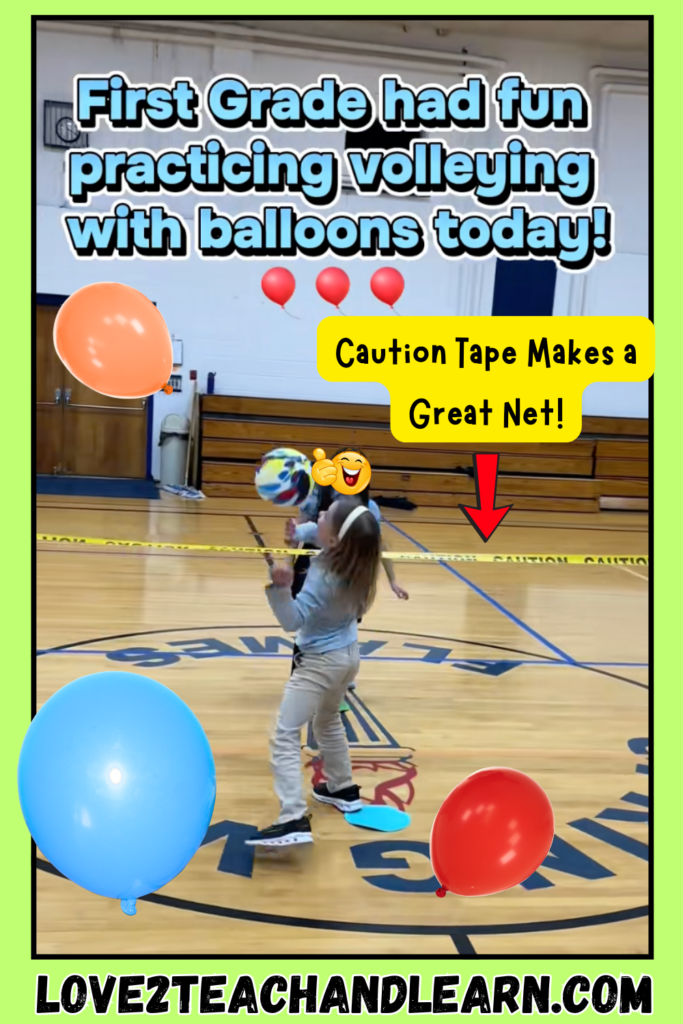
Progress to beach balls or lightweight foam balls, then pair students together to practice striking the object back and forth over a line or low net. Check out my first graders practicing striking with a balloon RIGHT HERE.
Throughout practice, reinforce the cue words: LOOK – MOVE – STRIKE – FOLLOW!
DIFFERENTIATE – Keep in mind that you may need to differentiate your instruction for upper and lower elementary.
- K–2: Spend lots of time with balloons and individual practice. I especially love to use balloons for my lower elementary PE Stations.
- 3–5: You can spend less time with balloons and move more quickly into partners, directional striking, and simple volleyball-style challenges.
FAVORITE GAMES/PE ACTIVITIES
PLAY FUN STRIKING WITH HANDS PRACTICE GAMES – Now that students have learned the basic cue words and fundamentals of striking with their hands, it’s time to put those skills into action with some super FUN PE games.
My five favorite overhand throwing games are:
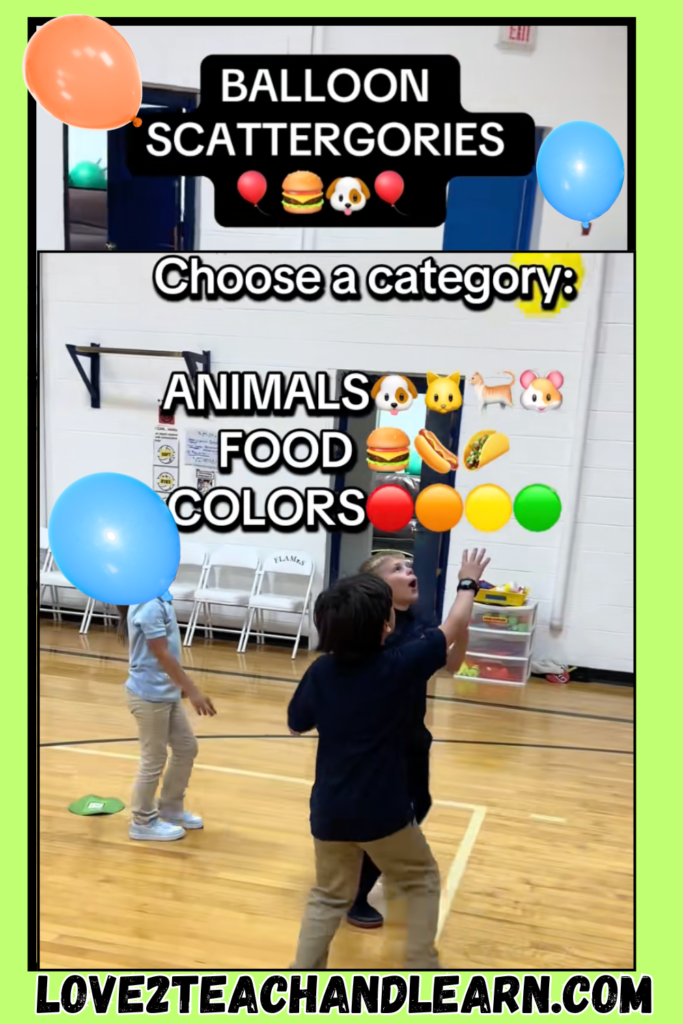
- 🎈🐶BALLOON SCATTERGORIES – This is a small group game where 3-6 kids stand in a circle with one balloon. The teacher chooses a fun category like FOOD, ANIMALS or COLORS, Then, students say a word that fits that category with every balloon tap, keeping the balloon in the air. NO REPEAT ANSWERS are allowed. Watch and Learn exactly how to play RIGHT HERE.
- 🎈 DON’T LET IT DROP! Relay – Divide students into small teams and have each team line up behind a starting line with one balloon. On “GO,” the first player uses only their hands to strike the balloon through the air to the opposite gym line, cone, or wall and back, trying to keep it from touching the floor; when they return, they hand or gently strike the balloon to the next teammate. Continue until everyone has completed the course—if the balloon touches the floor, simply pick it up and continue from that spot!
- 🏐🌈OVER THE RAINBOW — Stretch a low net, rope, or jump rope (caution tape works great too – lol) across the playing area and pair students on opposite sides. Students strike a balloon or beach ball back and forth over the “rainbow,” counting how many consecutive hits they can complete together.
- ☁️ CLOUD KEEPERS — Divide students into small groups and give each group 2–3 balloons (“clouds”). Players work together to keep ALL of their clouds floating in the sky using only hand strikes; once successful, add another cloud and see how many their team can keep airborne!
- 🏝️ 🌈RAINBOW ISLAND HOP — Give each student a white balloon and scatter six colored hula hoop “islands” around the gym: red, orange, yellow, green, blue, and purple. Students start at the designated starting line and use only their hands to strike their balloon through the air, using force and control to try to make it land inside one of the islands. When their balloon lands inside a hoop, they collect a matching colored dot sticker, place it on their balloon, and continue to another island—the goal is to visit all 6 RAINBOW ISLANDS and collect all six colors on their balloon!
ASSESSMENT
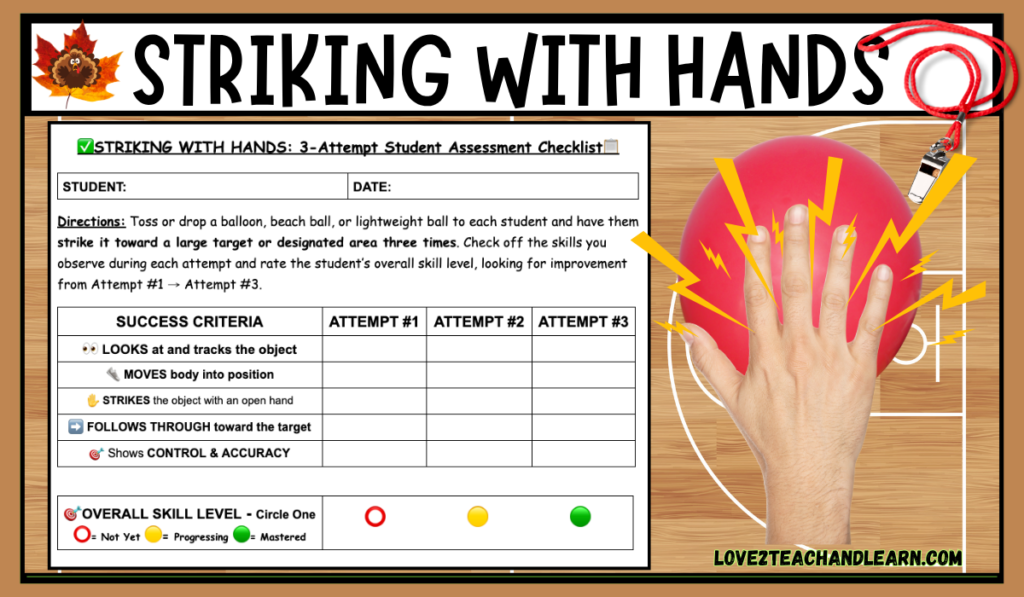
ASSESSMENT – When assessing my students’ striking with hands skills I use a 3-Attempt System and look for five key criteria including: LOOKS at and tracks the object, MOVES body into position, STRIKES the object with an open hand, FOLLOWS THROUGH toward the target and Shows CONTROL & ACCURACY.
- Toss or drop a balloon, beach ball, or lightweight ball to each student and have them strike it toward a large target or designated area three times. Check off the skills you observe during each attempt and rate the student’s overall skill level, looking for improvement from Attempt #1 → Attempt #3.
A quick checklist makes it easy to see who has mastered the skill and who could use a little more practice.
STRIKING WITH PADDLES
Now that students have practiced tracking, positioning, force, and control while striking with their hands, it’s time to take the next step—STRIKING WITH PADDLES!
Adding a paddle challenges students to transfer those same skills to an implement while developing even more hand-eye coordination, timing, and control.
It’s the perfect bridge from striking with hands to future skills like striking with rackets, bats, and other implements used in many sports and activities! In case you’re curious, these are the paddles I like to use with my students.
HOW TO TEACH IT
QUICK INTRO
DEFINE and EXPLAIN what striking with hands actually is. The kid-friendly definition that I use to introduce and teach striking (with paddles) to my students is:
- Using a paddle to hit an object and send it in a desired direction.
MAKE A REAL-WORLD CONNECTION – Ask your students: “What sports or games can you think of where you use a paddle or racket to strike an object?”
- Give students a chance to brainstorm and share examples like pickleball, tennis, table tennis, badminton, and racquetball. Explain that learning to track an object, control a paddle, make good contact, and adjust force and direction gives them important skills they can use in LOTS of sports, games, and activities!
RECITE – Then have students recite the striking with paddles “I CAN” Statement:
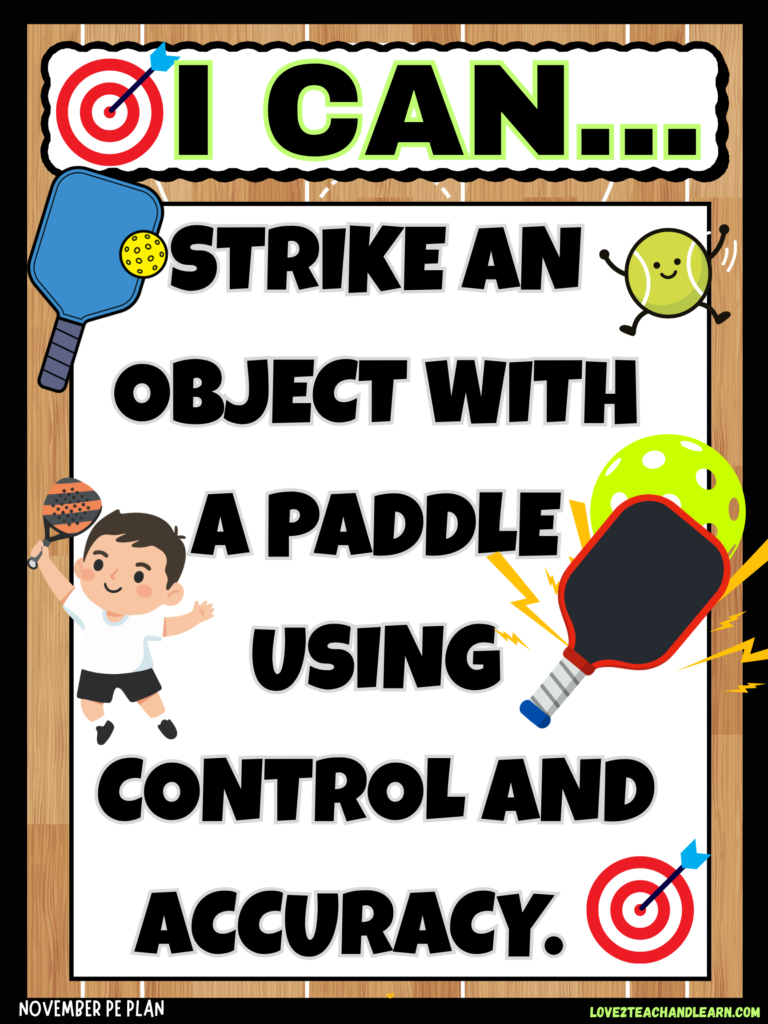
- I CAN… STRIKE AN OBJECT WITH A PADDLE USING CONTROL AND ACCURACY.
MODEL the skill of “striking with a paddle” for your students.
- MODEL – Using a balloon or lightweight ball, demonstrate how to hold the paddle safely with a firm but relaxed grip. Toss the object slightly into the air, LOOK at and track it, MOVE your body into position, STRIKE it gently with the flat part of the paddle, and FOLLOW through in the direction you want it to go. Demonstrate how using different amounts of force can change how far the object travels.
- *NOTE – We’ll use the same LOOK – MOVE – STRIKE – FOLLOW cue words we learned for striking with hands, but this time we’re simply transferring those skills to striking with a paddle!
CUE WORDS & SUCCESS CRITERIA
REMIND STUDENTS OF THE STRIKING CUE WORDS: LOOK – MOVE – STRIKE – FOLLOW
- 👀 LOOK – Keep your eyes on the object.
- 👟 MOVE – Move your body into position.
- 🏓 STRIKE – Hit the object with the flat part of the paddle.
- ➡️ FOLLOW – Follow through toward your target.
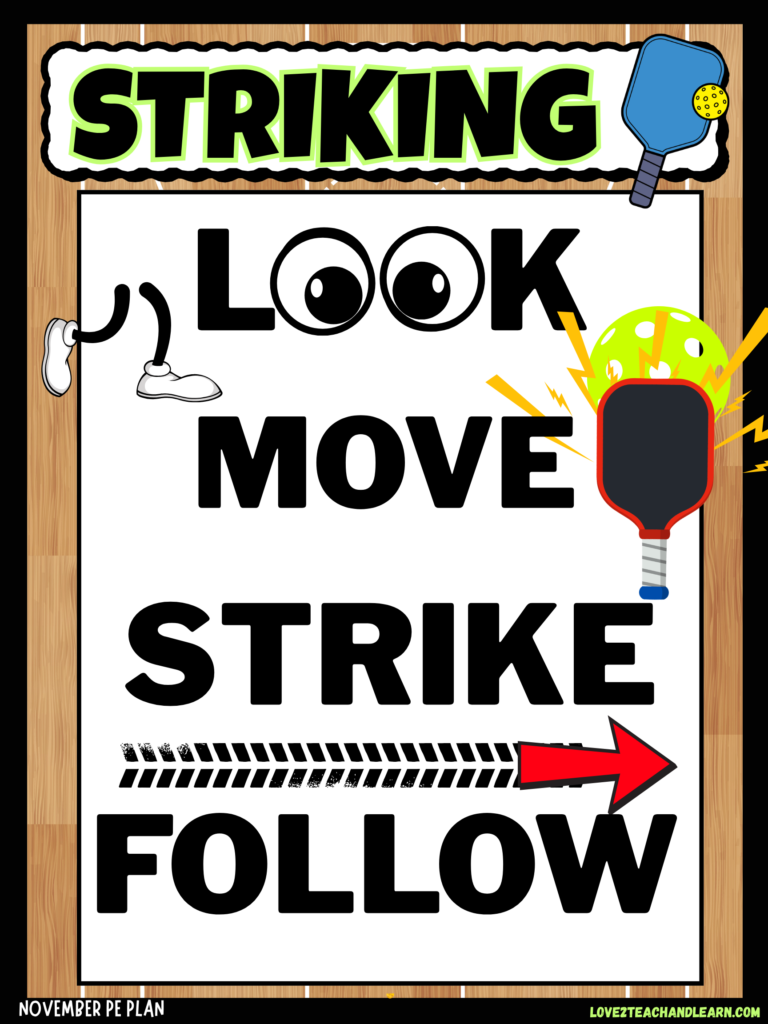
⭐EXPLAIN SUCCESS CRITERIA – I am successful when I LOOK at the object, MOVE into position, STRIKE it with the flat part of my paddle, and FOLLOW THROUGH in the direction I want it to go.
- When explaining the success criteria, it can also be helpful to have students visualize or picture themselves doing the skill correctly and then practice the “LOOK – MOVE – STRIKE – FOLLOW” motion without any equipment before giving it a try!
STUDENT PRACTICE
PRACTICE – I like to give students plenty of time to practice and progress from easy paddle control → individual striking → direction/accuracy → partner work. Here are some quick practice activity ideas for you.
- PADDLE SAFETY & GRIP – Give each student a short-handled paddle. Practice holding it with a comfortable grip and keeping it low and under control when not striking.
- PADDLE BALANCE – Place a balloon, beanbag, or lightweight ball on the paddle. Have students balance it while standing still, walking slowly, and moving around their personal space.
- BALLOON PADDLE-UP – Students gently strike a balloon upward with their paddle. Start with one strike and catch, then progress to 5–10 consecutive strikes without letting it hit the floor.
- PADDLE BOUNCES – Progress from a balloon to a yarn ball or lightweight foam ball. Students practice repeatedly striking the object upward while maintaining control. Challenge them to beat their own record.
- CHANGE THE FORCE – Have students experiment with SOFT, MEDIUM, and STRONG strikes and observe how the amount of force changes how far or high the object travels.
- STRIKE IN DIFFERENT DIRECTIONS – Call out UP, FORWARD, LEFT, or RIGHT, and have students try to control the direction of their strike. This reinforces paddle angle and control.
- PADDLE TO A TARGET – Students strike a balloon or lightweight ball toward a large target such as a hoop, mat, cone area, or wall target. Gradually make the target smaller or increase the distance.
- PARTNER PADDLE STRIKES – Partners stand a short distance apart and gently strike a balloon back and forth. Challenge them to see how many consecutive controlled strikes they can complete together.
Throughout all of these, keep repeating your same cue words: 👀 LOOK – 👟 MOVE – 🏓 STRIKE – ➡️ FOLLOW
DIFFERENTIATE – Keep in mind that you may need to differentiate your instruction for upper and lower elementary.
- K–2: Spend much more time with balloons, balancing, individual paddle control, and large targets.
- 3–5: You can progress more quickly into foam/yarn balls, directional striking, targets, partner rallies, and eventually striking over a line or low net.
FAVORITE GAMES/PE ACTIVITIES
PLAY FUN STRIKING WITH PADDLES PRACTICE GAMES – Now that students have practiced the basics of striking with paddles, bring back some of the same games from our Striking with Hands section—but swap their hands for paddles!
Familiar games like DON’T LET IT DROP, RAINBOW ISLAND HOP, OVER THE RAINBOW, and BALLOON SCATTERGORIES allow students to focus on controlling the new implement without having to learn completely new game rules.
Start with balloons to slow the game down and give students plenty of time to track and strike successfully, then progress to yarn balls or lightweight foam balls as their paddle control improves.
Continue reinforcing LOOK – MOVE – STRIKE – FOLLOW, along with safe paddle use, controlled force, and plenty of personal space.
ASSESSMENT
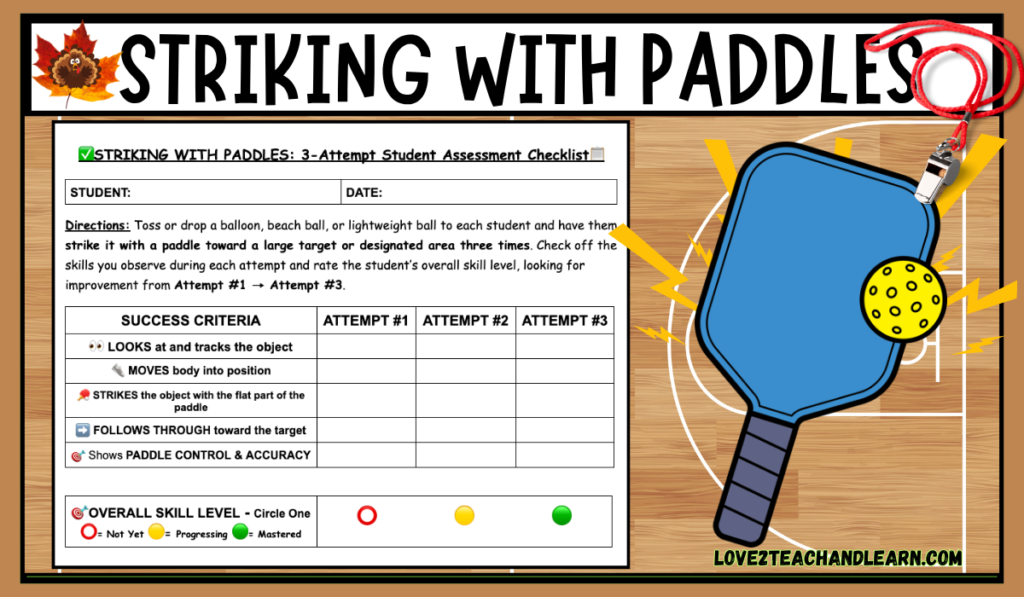
ASSESSMENT – When assessing my students’ striking with hands skills I use a 3-Attempt System and look for five key criteria including: LOOKS at and tracks the object, MOVES body into position, STRIKES the object with the flat part of the paddle, FOLLOWS THROUGH toward the target and Shows PADDLE CONTROL & ACCURACY.
- Toss or drop a balloon, beach ball, or lightweight ball to each student and have them strike it with a paddle toward a large target or designated area three times. Check off the skills you observe during each attempt and rate the student’s overall skill level, looking for improvement from Attempt #1 → Attempt #3.
A quick checklist makes it easy to see who has mastered the skill and who could use a little more practice.
LEAD PASSING
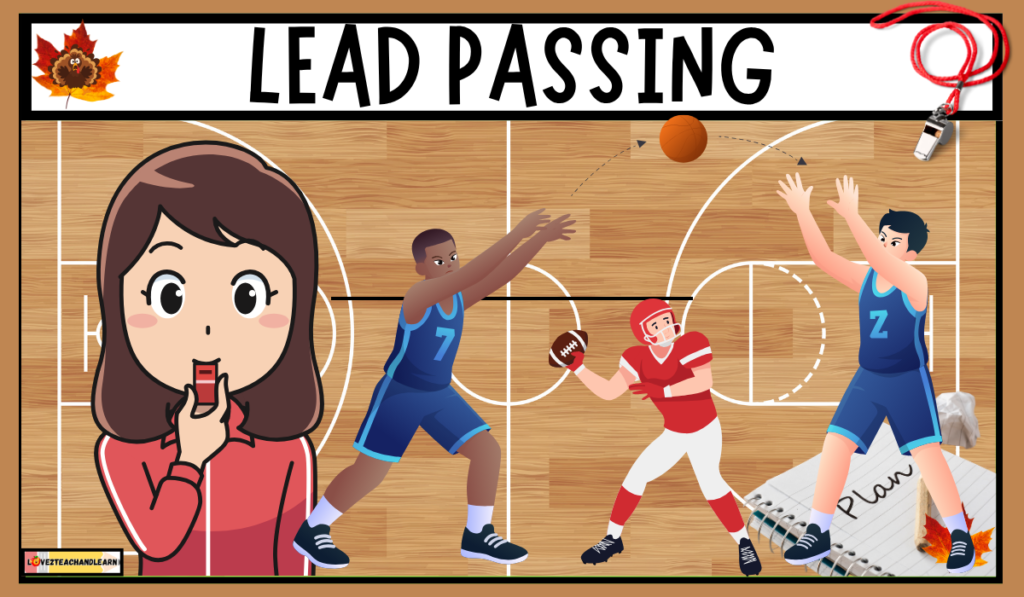
Now that students have built a strong foundation with throwing, catching, tracking, force control, and accuracy, it’s time to put those skills together with the final skill in our November PE Plan – LEAD PASSING!
TRACKING + THROWING + CATCHING + FORCE + ACCURACY + MOVEMENT + COOPERATION = LEAD PASSING 🎯
Lead passing challenges students to throw to a partner who is moving by aiming for the open space ahead of them instead of where they are right now.
This important skill combines movement, timing, accuracy, and teamwork and prepares students for many future sports and game situations!
HOW TO TEACH IT
QUICK INTRO
DEFINE and EXPLAIN what lead passing actually is. The kid-friendly definition that I use to introduce lead passing to my students is:
- Throwing a ball ahead of a moving partner so they can catch it while they continue moving.
MAKE A REAL-WORLD CONNECTION – Ask your students: “What sports can you think of where players pass a ball to a teammate who is moving?”
- Give students a chance to brainstorm and share examples like football, basketball, soccer, hockey, lacrosse, handball, and ultimate frisbee. Explain that good players don’t always pass directly at their teammate—they often pass into the open space ahead of them.
RECITE – Then have students recite the lead passing “I CAN” Statement:
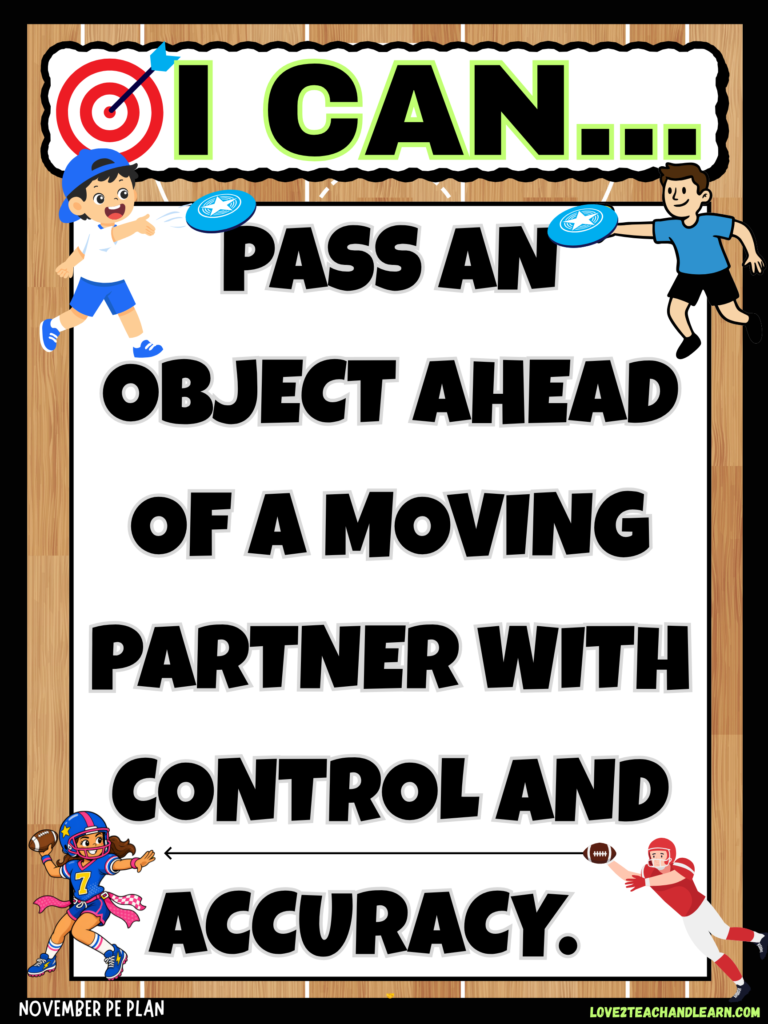
- I CAN… PASS AN OBJECT AHEAD OF A MOVING PARTNER WITH CONTROL AND ACCURACY.
MODEL / DEMONSTRATE – Use two students or demonstrate with another adult. Have the receiver slowly walk or jog across the gym. First intentionally throw the ball behind them, then directly at them, and finally ahead of them.
- Ask students: “Which pass made it easiest for the receiver to keep moving?” That visual comparison will make the concept click quickly.
CUE WORDS & SUCCESS CRITERIA
REMIND STUDENTS OF THE LEAD PASSING CUE WORDS: LOOK – LEAD – PASS – FOLLOW
- 👀 LOOK – Find your moving partner.
- ➡️ LEAD – Aim ahead of where they’re going.
- 🏈 PASS (to the space) – Use the right amount of force.
- ➡️ FOLLOW – Follow through toward the open space.
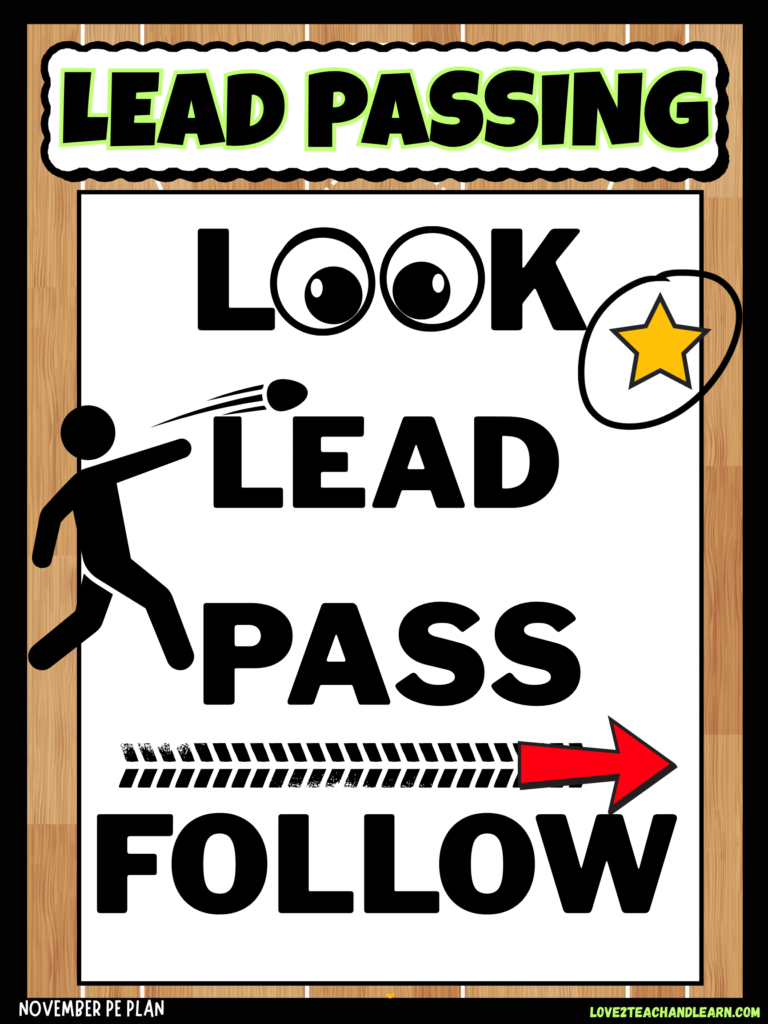
REINFORCE – PASS TO THE SPACE!
⭐EXPLAIN SUCCESS CRITERIA – I am successful when I LOOK at my moving partner, LEAD them by aiming ahead, PASS with the right amount of force, and FOLLOW THROUGH toward the open space.
- When explaining the success criteria, it can also be helpful to have students visualize or picture themselves doing the skill correctly and then practice the “LOOK – LEAD – PASS – FOLLOW” motion without any equipment before giving it a try!
STUDENT PRACTICE
PRACTICE – Start simple and gradually increase the challenge as students become more successful. Remind students throughout practice: “Don’t pass where your partner IS—pass where they’re GOING!”
Here are some practice activities for you:
- WALK & LEAD – Place students in partners. One student slowly walks across the gym while their partner practices tossing a soft ball slightly ahead of them. After 3–5 passes, switch roles. This allows students to see and understand the idea of leading a moving receiver before adding speed.
- FOLLOW THE LINE – Have the receiver walk or slowly jog along a straight floor line while their partner stands off to the side and passes the ball into the open space ahead of them. Gradually increase the receiver’s speed as students become successful.
- LEAD PASS LANES – Create lanes using cones or floor lines. Partners travel down the gym together, with one student moving ahead while the other practices passing into the open space. Switch passer and receiver on the way back.
- RUN & CATCH – The receiver starts beside the passer and then runs toward a cone or designated end zone. The passer waits for the receiver to begin moving and then attempts to lead them with the pass so they can catch the ball without stopping.
- CHANGE THE SPEED – Call out WALK – JOG – RUN while receivers move through the practice area. Passers must adjust how far ahead they lead the receiver and how much force they use based on the receiver’s speed.
- CHANGE THE DISTANCE – Partners begin fairly close together. After successful lead passes, increase the distance between passer and receiver. Discuss how students may need to adjust both force and accuracy as the distance increases.
- LEAD TO THE ZONE – Create several open target zones with hoops, poly spots, or cones. The receiver moves toward a zone while the passer attempts to place the ball into the space ahead of the receiver so the catch can be made near or inside the zone.
- ADD A DEFENDER – (Grades 3–5 ONLY) – Once students understand the skill, add a passive defender. The receiver moves into open space while the passer decides when and where to lead them with the pass. Begin with defenders walking or providing light pressure before progressing to more game-like play.
⭐ KEEP REINFORCING THE CUES – 👀 LOOK – ➡️ LEAD – 🏈 PASS – ➡️ FOLLOW
Encourage students to remember: “PASS TO THE SPACE!” rather than throwing directly at a moving partner.
DIFFERENTIATE – Keep in mind that you may need to differentiate your instruction for upper and lower elementary.
- K–2: Keep receivers walking or lightly jogging, use large soft balls, and exaggerate the open space.
- 3–5: Increase speed and distance and eventually add defenders or game-like situations.
FAVORITE GAMES/PE ACTIVITIES
PLAY FUN STRIKING WITH HANDS PRACTICE GAMES – Now that students have learned the basic cue words and fundamentals of lead passing, it’s time to put those skills into action with some super FUN PE games.
My four favorite lead passing games are:
- 🏈 RUN FOR IT! – Partners start together. One student runs toward a cone or end zone while the other throws a lead pass into the open space ahead. Complete the catch, switch roles, and repeat.
- 🚦 GREEN LIGHT PASS – Receivers move across the gym when the teacher calls GREEN LIGHT! Passers must lead their moving partner with a pass. Call YELLOW LIGHT for walking, GREEN LIGHT for jogging, and TURBO for faster movement with older students.
- 🍕 PIZZA DELIVERY – Scatter colored poly spots or hoops around the gym as “houses.” One student is the delivery driver running toward a house while their partner “delivers the pizza” (foam ball or flying disc) with a lead pass. Successful delivery = choose another house!
- 🏴☠️ TREASURE RUN – Place beanbags or plastic coins inside hoops at one end of the gym. The receiver runs toward the treasure while their partner completes a lead pass. Make the catch and the team earns one piece of treasure to bring back.
K–2: Use large soft balls, short distances, walking receivers, obvious pathways, lots of space, no defenders.
3–5: Use smaller balls/footballs/frisbees, jogging/running receivers, greater distances, changing pathways, decision-making, and eventually passive defenders.
ASSESSMENT
ASSESSMENT – When assessing my students’ lead passing skills I use a 3-Attempt System and look for five key criteria including: LOOKS at and tracks the moving partner, LEADS the partner by aiming into open space ahead, Uses the appropriate amount of FORCE, Pass shows CONTROL & ACCURACY, Allows the receiver to KEEP MOVING.
- Have a partner walk or jog across a designated area while the student completes 3 lead passes toward the moving partner. Check off the skills you observe during each attempt and rate the student’s overall skill level, looking for improvement from Attempt #1 → Attempt #3.
A quick checklist makes it easy to see who has mastered the skill and who could use a little more practice.
THAT’S A WRAP – Almost
And that wraps up our 6 essential PE skills for November! But before we call Month #3 complete, I couldn’t finish a November PE Plan without adding a little holiday FUN! 🦃🍂
I’m including a special NOVEMBER BONUS SECTION with a few of my absolute favorite MUST-PLAY November and Thanksgiving PE games—perfect for keeping your K–5 students moving, laughing, and having FUN as you head into Thanksgiving break!
NOVEMBER BONUS PE GAMES
Here are a few of my absolute favorite November Holiday Games:
- TURKEY HUNTING (Underhand Rolling) Team/Skill PE Game – Get all the “How to Play” directions RIGHT HERE.
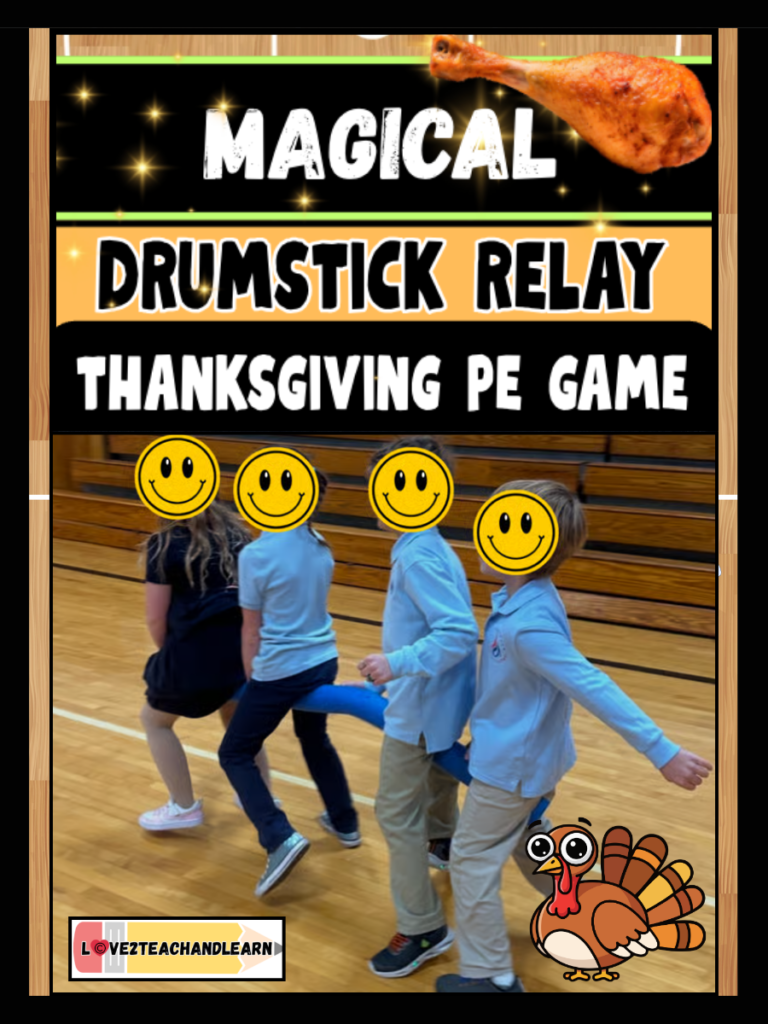
- MAGICAL DRUMSTICK RELAY – Get all the “How to Play” directions RIGHT HERE.
- WILD TURKEY TAG – Get all the “How to Play” directions RIGHT HERE.
- 10 THANKSGIVING STATIONS & RELAYS – Get all the “How to Play” directions RIGHT HERE.
CLASS DISMISSED
And there you have it—November PE is in the books! Here’s to an awesome month of learning, moving, laughing, and making some CRAZY FUN PE memories with your students!
LET’S CONNECT
If you’re a PE Teacher, I’d love to connect with you. You can find me hanging out in all of these Amazing places.
Mrs. T’s “Always Growing” PE Games Bundle
Hey Friend – Are you a K-5 PE Teacher looking to save MASSIVE time?
With my *HUGE – 450+ Pages* FULL YEAR Elementary PE Resource “ALWAYS GROWING” BUNDLE you will save SO MUCH VALUABLE planning time…
AND… you’ll be prepared for every PE class with creative, unique, and SUPER FUN skill-based games that your PE students will ABSOLUTELY LOVE!
You can check out my GIANT MEGA BUNDLE Right Here!
Oh, and if you want the BIGGEST BANG FOR YOUR BUCK – My NOVEMBER PE BUNDLE is already included in my MEGA “Always Growing” Bundle. How Cool is That?
Hey – Thanks so much for stopping by today to check out my NOVEMBER PE PLAN.
I really appreciate it and I hope your day is filled with plenty of FUN and FITNESS.
Oh, and remember PE Friends… IF YOU HAD FUN, YOU DEFINITELY WON!